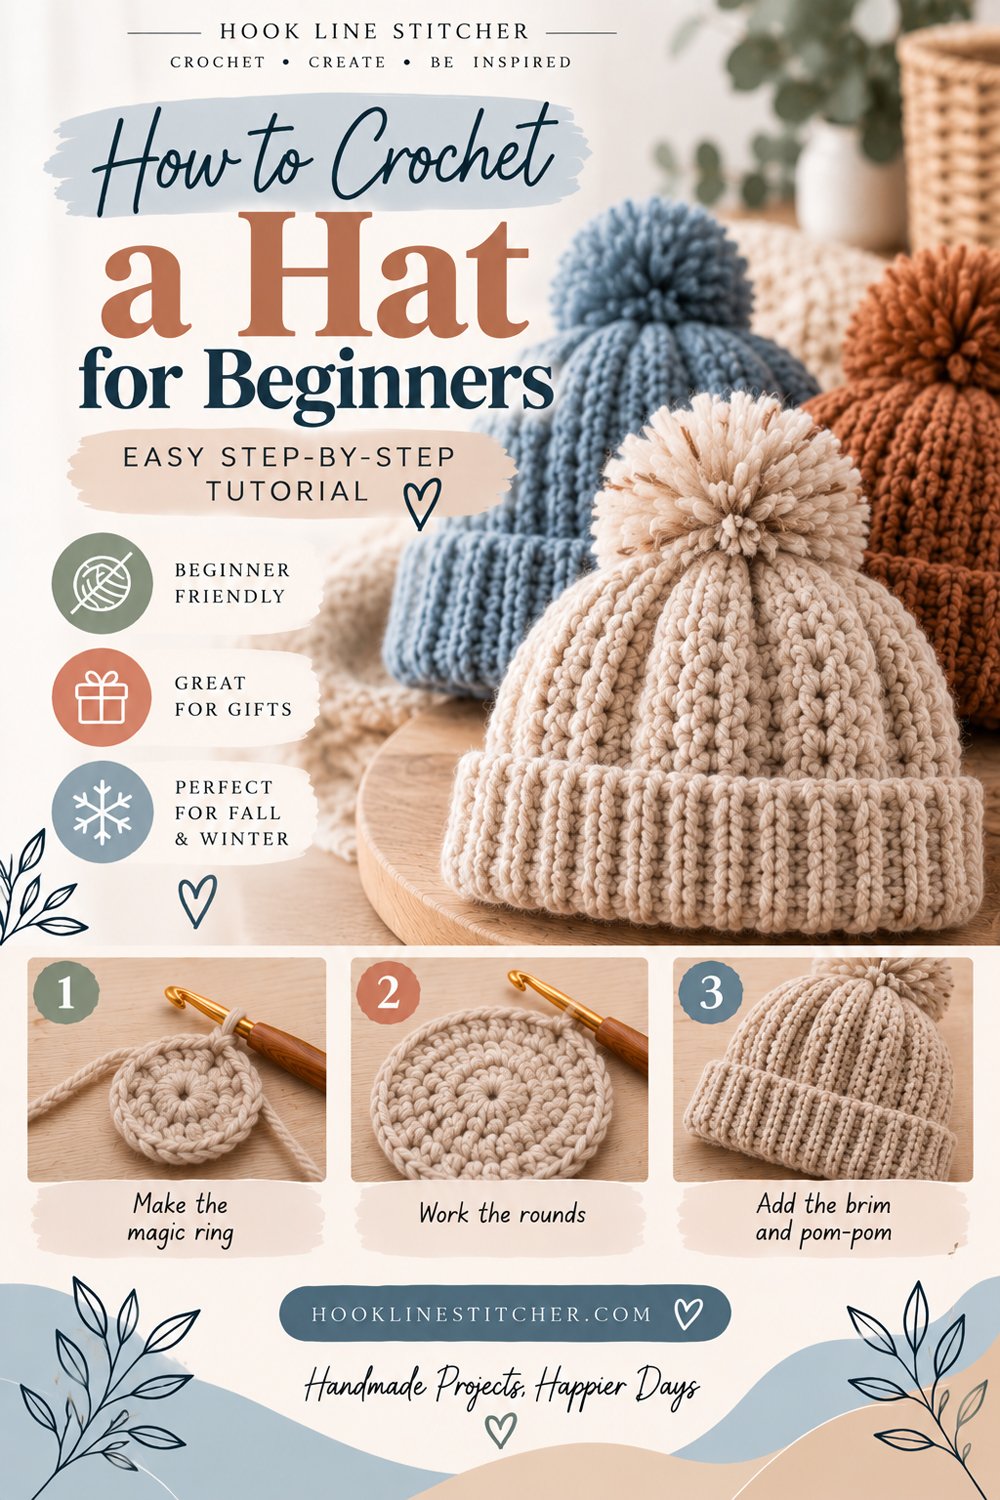
Learning how to crochet a hat is the moment crochet stops feeling like practice and starts producing things people actually wear. It’s also far less complicated than it looks, because a hat is only two shapes: a flat circle, then a tube.
You crochet a circle until it’s as wide as the top of the head. Then you stop increasing, and the fabric has no choice but to turn downward and form sides. That’s the entire construction. Every beanie you’ve ever owned is that shape.
The part that trips people up isn’t the stitches — it’s knowing when to stop increasing. This guide gives you the measurement that decides it, plus sizes from baby to adult.
About two hours for an adult hat.
What you need to know first
- Chain stitch
- Double crochet
- The magic ring
- Joining rounds with a slip stitch
No decreasing, no shaping, no sewing except for one small seam at the end — and even that is optional.
What you need
Worsted weight (4) yarn, about 150 metres for an adult hat. Acrylic or a wool blend both work. Avoid cotton for a first hat — it has no stretch, so any sizing mistake is unforgiving.
A 5.5mm hook.
A tape measure. This is not optional for a hat. It’s the difference between a hat that fits and a hat that doesn’t.
A tapestry needle and scissors.
Cathrinee’s Supply Kit
Everything you need for this project
Terms
US crochet terms.
- ch = chain · dc = double crochet (UK treble) · sl st = slip stitch · st(s) = stitch(es)
The one rule that makes a hat fit
Here’s the measurement everything depends on.
Crown diameter = head circumference ÷ 3.14, minus about 2 cm.
The division turns a circumference into a diameter. The 2 cm is negative ease — you want the hat slightly smaller than the head so it grips rather than slides off.
For an adult woman with a 56 cm head: 56 ÷ 3.14 = 17.8, minus 2 = 15.8 cm.
So you crochet a flat circle until it measures roughly 16 cm across, then stop increasing. That’s it. Everything else in this pattern is just rounds.
If you can measure the head you’re making it for, do that. If you can’t, use the table below.
Hat sizes
| Size | Head circumference | Crown diameter | Increase rounds | Final stitch count | Total hat height |
|---|---|---|---|---|---|
| Baby (0–6 m) | 36–42 cm | 11 cm | 4 | 48 | 14 cm |
| Toddler (1–3 y) | 46–48 cm | 13 cm | 5 | 60 | 17 cm |
| Child (4–10 y) | 50–52 cm | 14.5 cm | 5 | 60 | 18 cm |
| Adult small | 54–56 cm | 15.5 cm | 6 | 72 | 20 cm |
| Adult large | 57–60 cm | 17 cm | 7 | 84 | 22 cm |
Total hat height is measured from the very centre of the crown to the bottom edge.
The pattern
Worked in joined rounds. At the start of each round, ch 2 — this does not count as a stitch, and you should never work into it. Work your first dc into the same stitch as the join.
That choice matters more than it sounds. The traditional ch-3 that counts as a stitch leaves a small gap at the start of every round, and on a hat those gaps stack into a visible line running up the side. Chaining 2 and not counting it closes that seam up.
The crown
R1: Make a magic ring. Ch 2, then 12 dc into the ring. Join with a sl st to the first dc. Pull the ring closed. (12)
R2: Ch 2, 2 dc into each st around. Join. (24)
R3: Ch 2, (1 dc in next st, 2 dc in next st) around. Join. (36)
R4: Ch 2, (1 dc in each of next 2 sts, 2 dc in next st) around. Join. (48)
R5: Ch 2, (1 dc in each of next 3 sts, 2 dc in next st) around. Join. (60)
R6: Ch 2, (1 dc in each of next 4 sts, 2 dc in next st) around. Join. (72)
R7: Ch 2, (1 dc in each of next 5 sts, 2 dc in next st) around. Join. (84)
Every round adds 12 stitches — that’s the flat circle rule, the same one behind a crochet coaster. Twelve for double crochet, because taller stitches need more stitches per round to stay flat.
Stop at the round your size calls for, and measure across the circle before you continue. If it’s within a centimetre of your target, carry on. If it’s noticeably bigger or smaller, that’s gauge — see crochet gauge explained before you commit two hours to a hat that won’t fit.
The sides
Now stop increasing. The fabric will fold downward on its own.
Every round: Ch 2, 1 dc in each st around. Join.
Repeat until the hat measures the total height for your size, measured from the centre of the crown. For an adult that’s around 20 cm, which usually takes 9 to 11 rounds.
Try it on as you go. At about 15 cm, put it on. A hat that reaches mid-forehead is right; one that stops above the ears needs more rounds.
Fasten off, leaving a 15 cm tail, and weave it in through the back of the stitches in two directions.
The brim (optional)
A folded brim adds warmth and a more finished look.
Work 4 to 6 extra rounds beyond your target height, then fold them up. For a ribbed brim that grips better, work those last rounds in back loops only — the same technique used for a crochet headband.
Adding a pom pom
A pom pom turns a plain beanie into something that looks bought.
Wrap yarn around your four fingers about 80 times, slide the bundle off, tie a separate length of yarn tightly around the middle, then cut through both loops at the ends. Fluff it out and trim it into a sphere.
Sew it to the very centre of the crown, using the magic ring hole as your anchor point. Sew through the pom pom’s tie several times — pom poms come loose more often than anything else on a hat.
Tip: attach it with a press stud instead if the hat will be washed often. Then the pom pom comes off.
Troubleshooting your crochet hat
The hat is too big. Your crown circle grew past its target diameter, usually because your tension is loose. Go down a hook size, or stop one increase round earlier.
The hat is too small or too tight. The opposite — tight tension, or you stopped increasing too early. Go up a hook size.
The crown ruffles and won’t lie flat. Too many stitches. Count a round: each one should add exactly 12. An extra increase compounds fast.
The crown cups into a bowl before I want it to. Too few stitches, or very tight tension. Count first; that’s usually the answer.
There’s a visible seam running up the side. The turning chain. Chain 2 and don’t count it, then work a real dc into the first stitch — see holes and gaps in crochet.
The hat is cone-shaped, not rounded. You kept increasing too long before switching to straight rounds. Measure the crown before moving on.
The hat fits but rides up. It’s too short. Add two or three more rounds — most beginners stop short.
Variations
- Slouchy beanie: add two extra increase rounds, then work the sides longer, around 25 cm total.
- Ribbed beanie: work every round in back loops only for a stretchy, textured fabric.
- Striped hat: change colour every two rounds. Change on the last step of the previous stitch so the join stays clean.
- Chunky hat: use chunky yarn and a 8.0mm hook with the same pattern. It works up in under an hour, but check your crown measurement — chunky yarn grows fast.
- Single crochet hat: denser and warmer. Use 6 increases per round instead of 12, and expect roughly twice as many rounds.
Frequently asked questions
How do you crochet a hat for beginners?
Crochet a flat circle for the crown, increasing 12 stitches every round in double crochet. When the circle reaches your target diameter, stop increasing and work straight rounds until the hat is long enough.
How do I know when to stop increasing on a crochet hat?
Divide the head circumference by 3.14 and subtract about 2 cm. That’s your crown diameter. For a 56 cm head, stop when the circle measures about 16 cm across.
How many stitches for an adult crochet hat?
Around 72 double crochets after six increase rounds for an average adult head, or 84 after seven rounds for a larger head.
How long does it take to crochet a hat?
About two hours for an adult hat in worsted weight yarn, and under an hour in chunky yarn.
What yarn is best for a crochet hat?
Worsted weight acrylic or a wool blend. Avoid cotton for a first hat — it has no stretch, so sizing mistakes can’t be forgiven.
Why is my crochet hat cone-shaped?
You kept increasing for too many rounds. Measure the crown against your target diameter and stop increasing as soon as you reach it.
How much yarn does a crochet hat use?
About 150 metres of worsted weight yarn for an adult hat, less for children’s sizes.





4 Comments on “How to Crochet a Hat for Beginners: Easy Step-by-Step Tutorial”