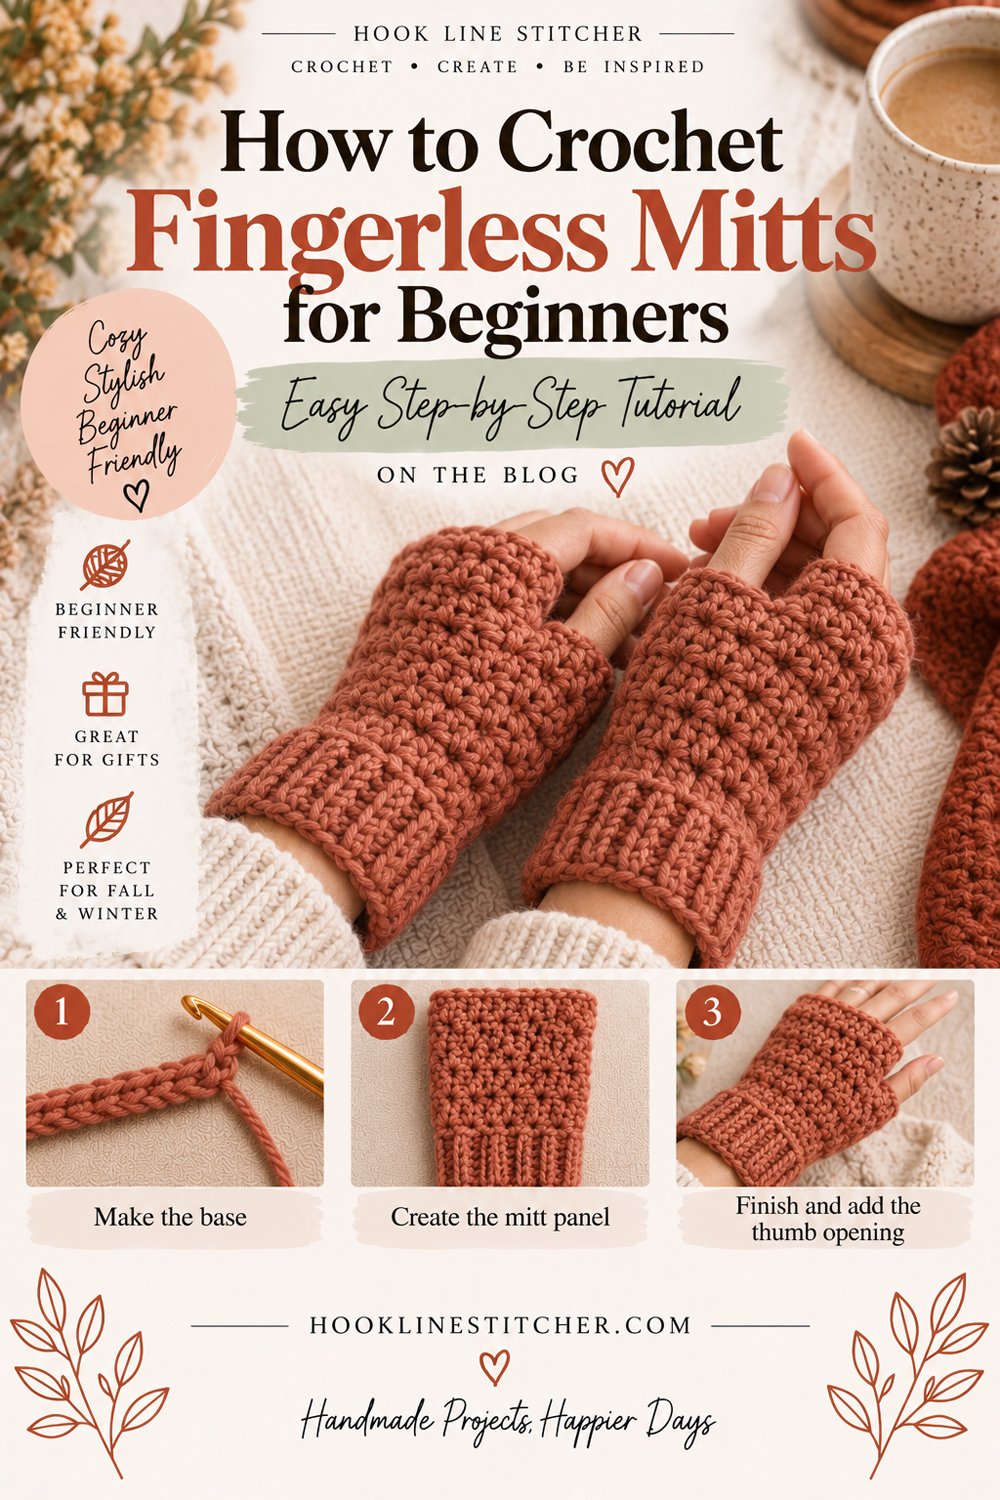
If you want to learn how to crochet fingerless mitts, here’s the thing that makes them a beginner project rather than a garment: they have no thumb.
Or rather, they have a thumb *hole* — a gap you simply leave unsewn in a straight seam. Real gloves need a thumb gusset, which is shaping worked in the round and genuinely intermediate. Mitts skip all of it. You crochet a rectangle, fold it, sew most of the way up, and stop sewing for four centimetres.
That gap is the thumb hole. That’s the entire construction.
About ninety minutes for the pair.
What you need to know first
- Chain stitch
- Half double crochet
- Back loop only
- Whip stitch seaming
What you need
Worsted weight (4) yarn, about 120 metres for a pair. Wool or a wool blend is warmest; soft acrylic is fine and washes better. Avoid cotton — mitts need stretch, and cotton has none.
A 5.0mm hook.
A tapestry needle and scissors.
Cathrinee’s Supply Kit
Everything you need for this project
Terms
US crochet terms.
- ch = chain · hdc = half double crochet (UK half treble) · BLO = back loop only · st(s) = stitch(es)
Measuring your hand
Two measurements, and they take ten seconds.
Hand circumference: wrap a tape around your palm at the widest point, excluding the thumb. Most adults land between 18 and 22 cm.
Length: from your wrist to the base of your fingers. Usually 12 to 15 cm, depending on how far up the hand you want them to sit.
| Size | Hand circumference | Starting chain | Rows needed |
|---|---|---|---|
| Small | 17–18 cm | 22 | 34 |
| Medium | 19–20 cm | 24 | 38 |
| Large | 21–22 cm | 26 | 42 |
Work about 2 cm shorter than your measurement. Ribbing stretches, and mitts that fit exactly slide down. Slightly snug is what keeps them on.
How the mitt is built
Like a crochet cowl, this is worked sideways.
The starting chain sets the length of the mitt — wrist to knuckles. The number of rows sets the circumference — how far around your hand it reaches.
When you fold the finished rectangle in half and seam the long edge, the ribs run around your hand, which is exactly the direction you want the stretch to go.
The pattern
Make two identical pieces. There’s no left and right — mitts are symmetrical.
Step 1: The rectangle
Ch 24 for a medium.
Row 1: hdc in the 3rd ch from the hook and in each ch across. (22)
Row 2: Ch 2, turn. hdc BLO in each st across. (22)
Repeat row 2 for 38 rows, or until the piece measures about 2 cm less than your hand circumference when relaxed.
The ch-2 is height only — never work into it.
Check as you go. Every ten rows, wrap the piece around your hand. It should reach around with a small gap.
Fasten off, leaving a tail about 60 cm long. You’ll seam with it.
Step 2: Find the thumb position
Fold the rectangle in half lengthways, so the two long edges meet and the ribs run around.
Slide your hand in. Where does your thumb naturally sit?
For most people that’s about 4 cm down from the top edge — the finger end. Mark that point and the point 4 cm below it with two stitch markers or scraps of contrasting yarn. The space between them is your thumb hole.
Don’t guess this. It’s the one part of a mitt that’s genuinely personal, and it’s why a shop-bought pair never quite sits right.
Step 3: Seam it
Thread your long tail.
Whip stitch the two long edges together from the bottom edge (wrist end) up to your first marker. Fasten off securely.
Skip the marked 4 cm entirely. That’s the thumb hole.
Rejoin the yarn at your second marker and whip stitch the remaining few centimetres to the top edge. Fasten off.
Weave in all ends, two passes in opposite directions. Turn the mitt so the seam is inside.
Step 4: Make the second one
Identical. Count the rows on the first and match exactly — two mitts of different row counts is the most common way a pair comes out wrong.
Troubleshooting your crochet fingerless mitts
They’re too loose and slide down. The rectangle was too wide around. Remove four rows — ribbing needs to be under slight tension to grip.
They’re too tight. Add rows, or go up a hook size.
The thumb hole is in the wrong place. Unpick the seam either side and re-sew with the hole moved. Five minutes, and it’s why marking before sewing matters.
The thumb hole is too small. 4 cm is the usual size; some hands need 5. Unpick a couple of stitches at each end.
They aren’t stretchy. You worked through both loops instead of back loop only.
The two mitts are different sizes. Different row counts. Count the rows rather than measuring — a relaxed piece and a stretched piece measure differently.
The seam is bulky. Whip stitch through one stitch from each edge, not two, and keep the tension even.
The wrist end is loose. Add a round of single crochet around the wrist opening, worked slightly tight, to draw it in.
Variations
- Longer mitts: ch 32 instead of 24 for mitts that reach mid-forearm.
- Striped: change colour every four rows. The stripes run around the hand.
- With a thumb: work a round of single crochet around the thumb hole, then four more rounds, for a short thumb tube.
- Convertible mitts: add a flap that folds over the fingers and buttons back.
- Matching set: the same yarn makes a crochet hat and a cowl. A three-piece set is the best use of 400 metres of nice yarn.
Why mitts are a good gift
Worth mentioning if you’re making for other people.
They fit almost anyone — ribbing forgives a lot, so you don’t need to know someone’s exact hand size. They’re quick enough to make several. They use one ball of yarn. And unlike a scarf, they’re useful indoors, which means people with cold hands at a desk actually wear them daily.
They also take about the same time as a pair of crochet coasters but look considerably more impressive.
Frequently asked questions
How do you crochet fingerless mitts for beginners?
Crochet a ribbed rectangle in back loop only half double crochet, fold it in half, and seam the long edge — leaving a 4 cm gap unsewn for the thumb.
How do I size crochet fingerless mitts?
Measure around your palm, excluding the thumb, and make the piece about 2 cm shorter than that. Ribbing stretches, so slightly snug is what keeps them on.
Where does the thumb hole go?
About 4 cm down from the finger end. Slide your hand into the folded rectangle and mark where your thumb naturally sits before sewing.
How much yarn do crochet fingerless mitts use?
About 120 metres of worsted weight yarn for a pair.
Do I need to make a left and right mitt?
No. Fingerless mitts are symmetrical, so both are identical.
Why aren’t my crochet mitts stretchy?
You worked through both loops instead of back loop only. The back loop ribbing is what creates the stretch.
How long does it take to crochet fingerless mitts?
About ninety minutes for the pair.





One comment on “How to Crochet Fingerless Mitts for Beginners: Easy Step-by-Step Tutorial”