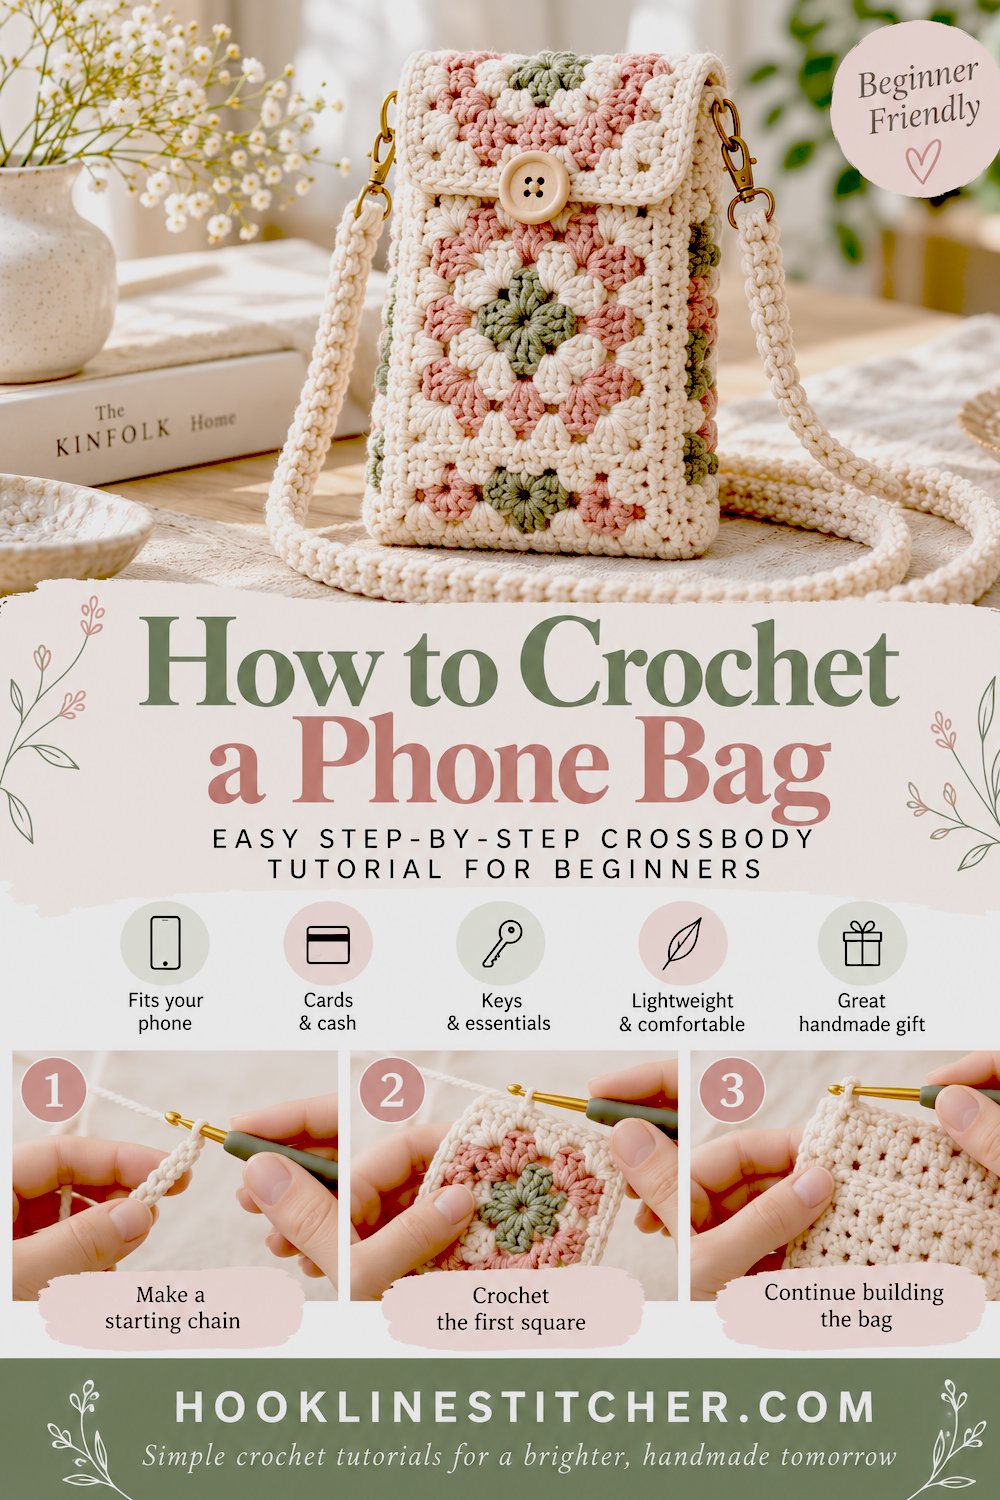
If you want to learn how to crochet a phone bag, this is the easiest possible place to start. A crossbody phone bag is the smallest useful bag you can make, and it is essentially one rectangle folded in half. You work a flat piece, fold it, seam the two sides, and add a strap. There is no shaping, no base circle, no mesh, and the whole thing takes about two hours.
The reason how to crochet a phone bag comes up so often is simple: it has become one of the most-carried handmade items around — small enough to take instead of a handbag, big enough for a phone, a card and a key.

From the shop · New pattern
A sweet cat-ear coaster in just 5 rounds. Beginner friendly, printable 7-page PDF for $4.99.
See the pattern →What you will need
| Item | What I recommend | Why |
|---|---|---|
| Yarn | Worsted weight (#4) cotton, about 120 yards | Strong, holds shape, does not stretch permanently |
| Hook | 4.0 mm | Deliberately tight so the phone does not push through |
| Your phone | The actual one | You will measure against it |
| Yarn needle | Blunt tapestry needle | Seaming and weaving in |
| Button | Optional, 1 medium | For the closure |
The tight fabric matters here more than in most bags. A loose crochet fabric will let a phone corner poke through a gap, and over time the bag distorts around the phone’s shape. Go down a hook size from what your yarn label suggests.
From the shop · New pattern
A sweet cat-ear coaster in just 5 rounds. Beginner friendly, printable 7-page PDF for $4.99.
See the pattern →Cathrinee’s Supply Kit
Everything you need for this project
Stitches you need to know
- Chain (ch) — see how to crochet a chain stitch
- Single crochet (sc) — the whole bag, see how to crochet a single crochet stitch
- Slip stitch (sl st) — seaming and finishing
Three stitches, one of which is only used to join. This is as simple as a bag gets.
Measure your phone
Lay your phone on the table and measure its width. Most phones are between 2.8 and 3.2 inches wide.
Add half an inch. That is the width of your rectangle. The extra half inch accounts for the phone’s thickness — without it, the bag will be too tight to get the phone in and out of easily, which is the single most common complaint about handmade phone bags.
Then measure the phone’s height and double it. That, plus about an inch, is how long your rectangle needs to be.
How to crochet a phone bag step by step
The rectangle
- Chain to your width. For a phone 3 inches wide, chain about 16 with worsted cotton on a 4.0 mm hook. Lay the chain against your phone plus half an inch to check before you go further — it is much easier to redo a chain than 40 rows.
- Row 1: Single crochet into the second chain from the hook and into each chain across. Count your stitches.
- Row 2: Chain 1, turn, single crochet into each stitch across. Same count.
- Rows 3 onward: Repeat row 2. This is the whole rectangle.
- Check the length as you go. Lay the strip against your phone. You want it to reach from the bottom of the phone, up over the top, and back down again — so double the phone height, plus about an inch of ease. Most people need 40 to 50 rows.
- Fasten off, leaving a long tail — you will use it for the first seam.
Seaming
- Fold the rectangle in half, wrong sides together, so the two short ends meet. The fold becomes the bottom of the bag.
- Seam the first side. Thread the long tail and whip stitch up the side edge, catching one stitch from each layer each time. Go all the way to the top and fasten off.
- Seam the second side. Join yarn at the bottom fold and repeat.
If you prefer using your hook, you can slip stitch the sides together through both layers instead, which is faster and makes a small visible ridge. Both are fine — the ridge looks deliberate.
- Test it. Put your phone in. It should slide in with a gentle push and not fall out when the bag is tipped. If it is a struggle, your rectangle was too narrow; if the phone falls out sideways, too wide.
The edging and strap
- Edge the opening. Work one round of single crochet around the top opening, going through both layers at the side seams so the edges sit flat. This stops the opening curling and gives the strap a solid anchor.
- Mark the strap points at the two side seams.
- Join yarn at one seam and chain 100. For a crossbody strap on an adult, 100 chains is about right. Measure it across your body before you commit — hold the chain from hip to opposite shoulder.
- Work back along the chain: single crochet into each chain all the way. Then chain 1, turn, and single crochet back along it once more. Two rows makes a flat strap that lies comfortably rather than twisting into a cord.
- Attach to the opposite seam with six or eight slip stitches, going through the seam repeatedly. Fasten off.
- Optional closure. Sew a button to the front of the bag about an inch below the opening. Then join yarn at the centre back of the opening, chain 6, and slip stitch back into the same place to make a loop. Check the loop reaches the button before you fasten off.
- Weave in every end on the inside and trim close.
Troubleshooting
My phone will not fit. The rectangle was too narrow. You need the phone’s width plus half an inch to account for its thickness.
The phone slides out when I bend over. Too wide, or no closure. Add the button and loop.
The corner of my phone pokes through the fabric. Your stitches are too loose. Drop half a hook size and remake. A phone bag needs a denser fabric than almost any other bag its size.
My rectangle is getting wider or narrower. You are gaining or losing stitches at the row ends. Count each row. Why are my crochet rows getting wider or narrower explains exactly where it happens.
The seams are lumpy and uneven. Whip stitch catches one stitch from each layer, evenly spaced. Going too deep or skipping stitches puckers the seam.
The strap twists into a rope. You worked only the chain, or one pass along it. Two rows of single crochet gives a flat strap.
The strap is pulling the bag out of shape. Not enough attachment stitches. Go through the seam six to eight times at each end.
The bag stretched and the phone is loose now. Acrylic yarn. Cotton holds its dimensions far better under the daily weight of a phone.
Variations to try
- Flap closure. Instead of stopping at the fold, keep working 8 more rows on the back panel and fold them over the front as a flap with the button underneath.
- Add a card pocket. A small rectangle sewn onto the outside holds a bank card or a travel pass.
- Granny square front. Make one granny square the size of your phone, work a plain back panel, and seam them together.
- Colour block strap. Work the strap in a contrast colour.
- Beaded or tasselled. Add a small tassel to the bottom corner.
- Bigger version. Scale the same rectangle up and you have a mini bag or, larger still, a tote bag.
Why the fold-and-seam method makes learning how to crochet a phone bag so easy
This one rectangle technique makes more things than almost anything else in crochet. A pencil case, a glasses case, a make-up pouch, a tablet sleeve, a cushion cover — all of them are a rectangle folded and seamed, with the dimensions changed. Once you have made the phone bag, you already know how to make all of those.
It is also the method that requires the least from your crochet. There is no circle to keep flat, no round to lose your place in, and no fit to negotiate beyond a measurement you take from the real object in front of you.
For more bags and pouches, see how to crochet a mini bag, and for more quick projects, small crochet patterns for beginners.
To check your yarn against a hook size, use the Craft Yarn Council hook size chart.
How wide should I crochet a phone bag?
Measure your phone width and add half an inch. That extra half inch accounts for the phone thickness — without it the bag is too tight to get the phone in and out of comfortably. Most phones need a rectangle about 3.5 inches wide.
How long should the rectangle be for a crochet phone bag?
Double your phone height and add about an inch of ease, because the rectangle folds in half to make the front and back. Most people need 40 to 50 rows of single crochet with worsted weight cotton on a 4.0 mm hook.
How long should a crossbody phone bag strap be?
About 100 chains for an adult. Before you work back along it, hold the chain from your hip up to the opposite shoulder to check the length — strap length is personal and much easier to adjust before the second row than after.
Why does my phone poke through the crochet fabric?
Your stitches are too loose. A phone bag needs a denser fabric than most bags its size because a hard corner presses constantly against the same spot. Drop half a hook size from what your yarn label recommends.
Can I make a phone bag without sewing?
Yes. Instead of whip stitching the side seams with a needle, slip stitch them together through both layers using your hook. It is faster and leaves a small raised ridge along each side, which reads as a deliberate design detail.




