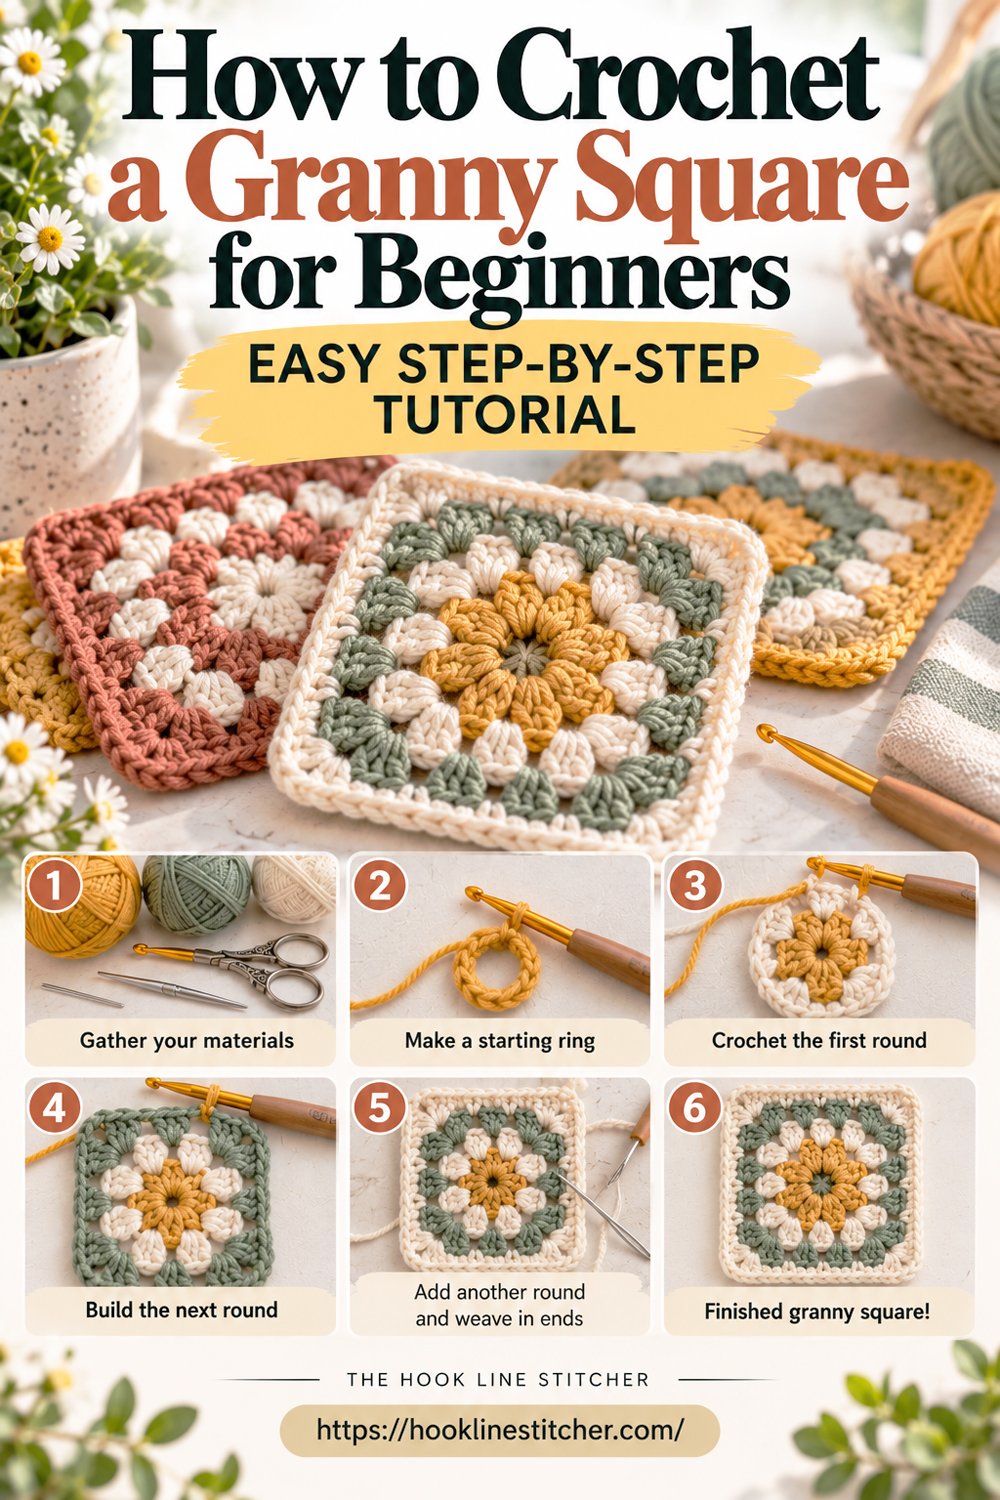
The granny square is the most famous thing in crochet, and it’s easier than the stitches most beginners learn before it. Below is how to crochet a granny square round by round, and why working into the gaps is the easy part.
That sounds wrong until you understand one detail: you don’t work into stitches. You work into the gaps between them. The chain spaces are large, obvious holes — you cannot miss them, you cannot split them, and you don’t need to peer at the top of a stitch trying to identify two loops.
For a lot of beginners, the granny square is the point where crochet stops being fiddly.
It’s also the most practical shape in crochet. One square is a coaster. Four are a cushion front. Sixty are a blanket, built twenty minutes at a time in a bag, which is how beginners actually finish blankets rather than abandoning them.
Twenty minutes for your first one.

From the shop · New pattern
A sweet cat-ear coaster in just 5 rounds. Beginner friendly, printable 7-page PDF for $4.99.
See the pattern →What you need to know first
- Chain stitch
- Double crochet
- Slip stitch, for joining rounds
That’s it. Every granny square is double crochets and chains, arranged.
What you need
Worsted weight (4) yarn. Acrylic is traditional and fine. Cotton gives crisper corners.
A 5.0mm hook.
A tapestry needle and scissors.
About 15 metres per square.
From the shop · New pattern
A sweet cat-ear coaster in just 5 rounds. Beginner friendly, printable 7-page PDF for $4.99.
See the pattern →Cathrinee’s Supply Kit
Everything you need for this project
Terms
US crochet terms.
- ch = chain · dc = double crochet (UK treble) · sl st = slip stitch · sp = space
How a granny square works
Worth thirty seconds before the pattern, because it makes the whole thing obvious rather than something to memorise.
A granny square is groups of 3 double crochets separated by gaps, worked in rounds.
- Where you want a corner, you put two groups into the same space with a chain-2 between them. Two groups in one place forces the fabric to turn.
- Where you want a side, you put one group into the space.
That’s the entire logic. Every round is: corner, side, corner, side, corner, side, corner, side. As the square grows, the number of side spaces grows, and nothing else changes.
Once you see that, you can work a granny square of any size without a pattern.
How to crochet a granny square, round by round
Round 1 — the centre
Make a magic ring. No magic ring? Ch 4 and sl st into the first chain to make a loop, then work into the loop.
Ch 3 (counts as your first dc), 2 dc into the ring, ch 2.
Then: 3 dc into the ring, ch 2 — repeat twice more.
Join with a sl st to the top of the ch-3. Pull the ring closed firmly.
You should have four groups of 3 dc, separated by four ch-2 corner spaces.
Round 2 — four corners, no sides yet
Sl st across the next 2 stitches and into the first ch-2 corner space. This moves your working position into a corner, which is where every round begins.
Ch 3, 2 dc into that same space, ch 2, 3 dc into the same space. That’s a corner made — two groups sharing one space.
Then: ch 1, and into the next ch-2 space work (3 dc, ch 2, 3 dc) — repeat twice more.
Ch 1, join with a sl st to the top of the ch-3.
Four corners, and a small ch-1 gap along each side.
Round 3 — sides appear
Sl st across into the next ch-2 corner space.
Ch 3, 2 dc, ch 2, 3 dc into that space — corner made.
Then: ch 1, 3 dc into the next ch-1 side space, ch 1, then (3 dc, ch 2, 3 dc) into the next corner space — repeat twice more.
Ch 1, 3 dc into the last side space, ch 1, join.
Round 4 and beyond
Every round follows the same shape: corner, then one group into each side space along the way, then corner.
Each round adds one more side space per side. Round 4 has two side groups per side, round 5 has three, and so on.
Keep going until the square is the size you want, then fasten off and weave in the ends.
Changing colour
Most granny squares use a new colour each round, and it’s simple.
At the end of a round, fasten off and weave the tail in later. Join the new colour with a sl st into any corner space, then ch 3 and carry on as normal.
Start each round in a different corner rather than always the same one. It spreads the joins around the square instead of stacking them into a visible line.
Blocking
Granny squares come off the hook slightly wonky. Almost all of them do.
Dampen each square, pin it flat into a proper square shape, and let it dry. Cotton and wool hold the shape permanently; acrylic holds it well enough.
If you’re making a blanket, block all the squares before joining. Unblocked squares of slightly different sizes are what makes a granny blanket come out lumpy — and it’s much easier to fix at the square stage than afterwards.
Joining squares
Three common methods, from easiest to neatest.
Whip stitch. Hold two squares with right sides together, and sew through the back loops of both along one edge. Fast, sturdy, and the seam is almost invisible from the front. Best first choice.
Slip stitch join. Same idea with a hook instead of a needle. Leaves a small raised ridge, which some people like as a design feature.
Join-as-you-go. You attach each new square to its neighbours during its final round, so there’s no sewing at the end. Genuinely the best method, and worth learning once you’ve made a dozen squares — not before, because it’s hard to picture until the square itself is automatic.
Troubleshooting
My square isn’t square. Usually a missed group somewhere, or a corner worked as a side. Count: every side should have the same number of 3-dc groups.
The centre has a hole. The magic ring wasn’t pulled tight, or you used the chain-loop start. Close it from the back with the tail.
The corners are rounded, not pointed. You worked one group into the corner instead of two. Corners need two groups sharing a space with ch-2 between.
It’s ruffling at the edges. Too many groups in a round, or the chain-1 gaps are too loose. Count the groups per side.
It’s cupping. Tension too tight, or a group missed. Blocking fixes mild cupping.
My colour joins all line up in a visible stripe. Start each round in a different corner.
The square is a different size from my others. Tension drifts over a long project. Block them all to the same size — this is exactly what blocking is for.
What to make with them
- One square — a coaster
- Four — a small cushion front, or a bag panel
- Nine — a full cushion cover
- Twenty — a baby blanket
- Sixty — a throw
The appeal is that none of those is a different project. It’s the same twenty minutes repeated, and you can stop at any point and have something finished.
What’s next
If round crochet is what you’re after instead, the crochet coaster teaches the flat circle rule — the other foundational shape.
More project ideas: Easy Crochet Projects for Fall →
Frequently asked questions
How do you crochet a granny square for beginners?
Work groups of 3 double crochets separated by chain spaces, in rounds. Two groups in a corner space, one group in each side space. Every round follows the same pattern.
Why do you work into spaces instead of stitches?
It’s easier and it’s how the square is constructed. The chain spaces are large and obvious, which is a big part of why granny squares suit beginners.
How many rounds should a granny square have?
Three to four rounds makes a square around 10 to 12 cm, which is the standard size for blankets. There’s no upper limit.
How much yarn does a granny square use?
Roughly 15 metres of worsted weight for a four-round square.
What’s the best way to join granny squares?
Whip stitching through the back loops is the easiest strong method and the seam barely shows. Join-as-you-go is neater but worth learning later.
Why isn’t my granny square square?
Usually a missing group or a corner worked as a side. Count the groups on each side — they should match.
Do I need to block granny squares?
For a single square, no. For a blanket, yes — blocking every square to the same size is what stops the finished blanket coming out lumpy.
How do you crochet a granny square?
Start with a magic ring or a small chain ring, then work clusters of three double crochet separated by chain spaces. Each round works clusters into the chain spaces of the round below, with two clusters and a chain in each corner to turn it.
Why is my granny square not square?
You are missing the extra cluster in the corners. Each corner needs two clusters of three double crochet with a chain between them — that doubling is what turns the corner. One cluster per corner produces a circle instead.
How many rounds should a granny square have?
Four to six rounds makes a standard square of about 4 to 6 inches, which is the usual size for joining into blankets. A single large granny square of twenty rounds makes a whole baby blanket on its own.
How do I join granny squares together?
The two easiest methods are slip stitching them together through the back loops with a hook, or whip stitching with a yarn needle. For a decorative join, single crochet them together so the seam sits raised on the front.
What yarn should I use for granny squares?
Worsted weight acrylic with a 5.0 mm hook is the classic choice — affordable, washable, and available in enough colours to make scrap projects work. Granny squares are the best possible use for leftover yarn.





3 Comments on “How to Crochet a Granny Square for Beginners: Easy Step-by-Step Tutorial”