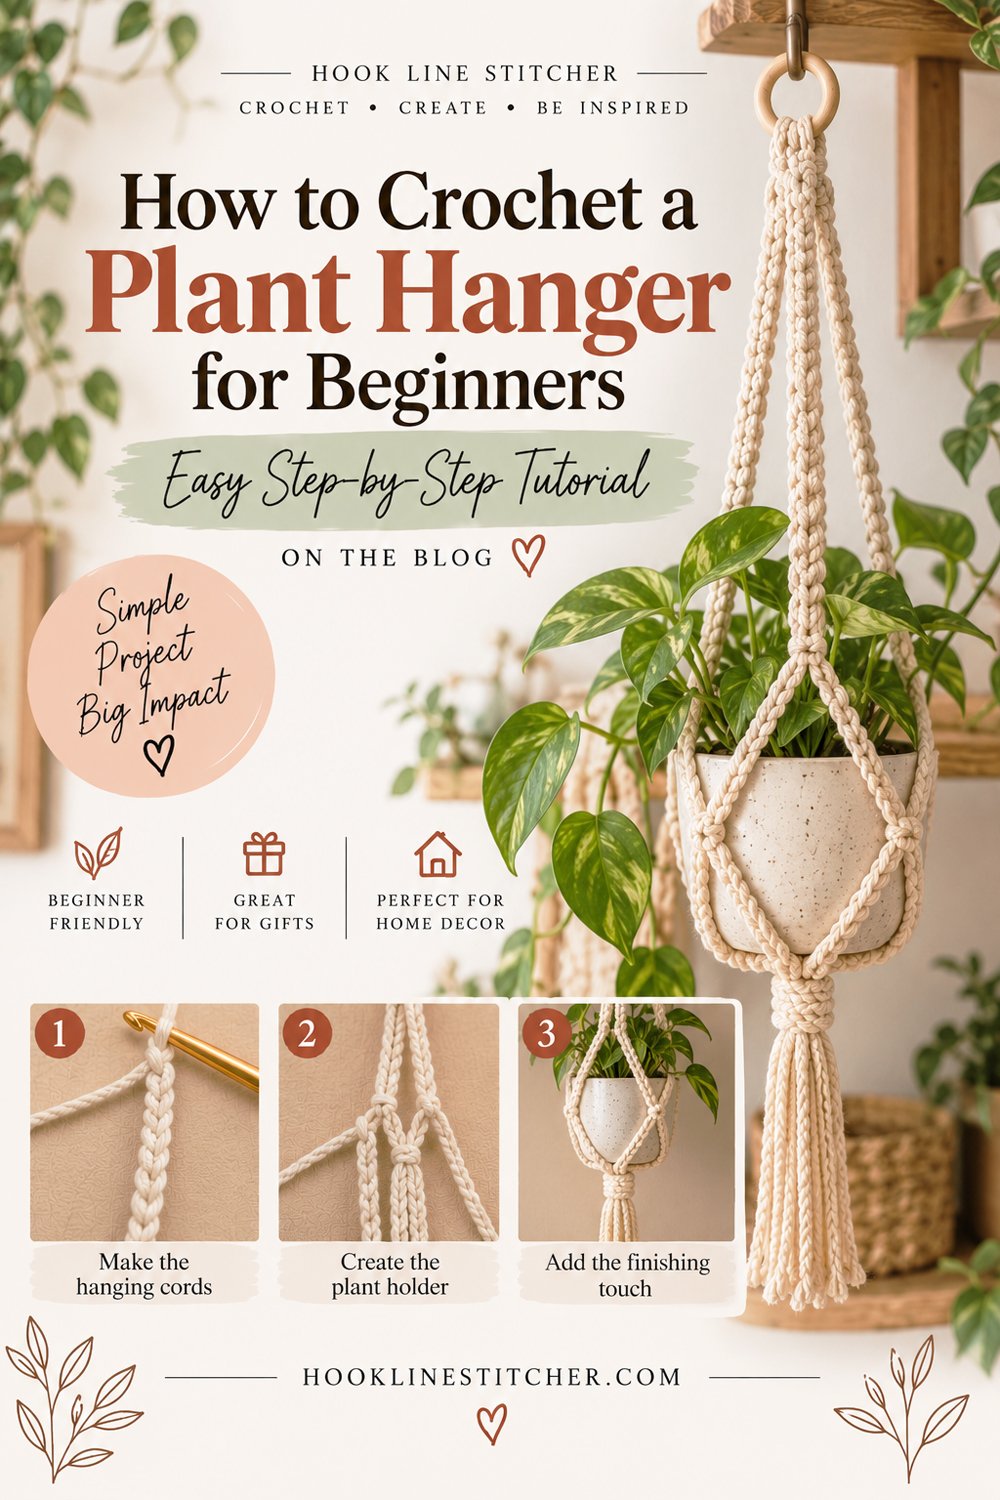
A crochet plant hanger is the rare beginner project with no stitch count to keep, no shaping, and no gauge to match. If you want to learn how to crochet a plant hanger, you need exactly one skill — the chain stitch — and about an hour.
It works because a plant hanger isn’t fabric. It’s a net. Four long cords, joined to each other at intervals, forming a cradle that a pot sits in. The knots do the structural work, and the pot itself holds the shape.
That also makes it forgiving in a way almost nothing else is: if one cord comes out slightly longer than another, the pot sits at a slight angle and you adjust a knot. There’s no unpicking.
About an hour. Fits a pot up to about 15 cm across.

From the shop · New pattern
A sweet cat-ear coaster in just 5 rounds. Beginner friendly, printable 7-page PDF for $4.99.
See the pattern →What you need to know first
- Chain stitch
- Slip stitch
- Single crochet — used only for the hanging loop
Genuinely that’s all. This is the simplest project on the site.
What you need
Cotton yarn or macramé cord, worsted weight or heavier. Cotton matters here for a reason people discover too late: a plant pot is heavy, and acrylic stretches. A hanger that looked right when you hung it will have dropped ten centimetres a month later, and it keeps going.
Cotton barely stretches. Jute or macramé cord doesn’t stretch at all and gives a more rustic look. The Craft Yarn Council’s yarn weight system is worth checking if you’re substituting — go heavier rather than lighter.
About 100 metres for a standard hanger.
A 5.0mm hook.
A tapestry needle and scissors.
Optional: a wooden or metal ring, 4–5 cm across, for the top. It makes hanging easier and looks more finished, but you can crochet a loop instead.
From the shop · New pattern
A sweet cat-ear coaster in just 5 rounds. Beginner friendly, printable 7-page PDF for $4.99.
See the pattern →Cathrinee’s Supply Kit
Everything you need for this project
What size should a plant hanger be?
| Hanger length | Cord length to chain | Suits |
|---|---|---|
| Short | 55 cm | A shelf or a low hook |
| Standard | 75 cm | A window or ceiling hook |
| Long | 100 cm | High ceilings, a stairwell |
The length in the table is the finished hanging length, roughly from the hook to the base of the pot.
Terms
US crochet terms.
- ch = chain · sc = single crochet (UK double crochet) · sl st = slip stitch
The pattern
Step 1: The hanging loop
If you’re using a ring, join your yarn to it and work about 20 sc around it until it’s covered. Then skip to step 2.
If you’re not using a ring: ch 20, join with a sl st into the first chain to make a loop, then work 30 sc around that loop. Fasten off, leaving a long tail.
A covered ring or a single-crocheted loop both take the weight far better than a bare chain, which will stretch under a wet pot.
Step 2: The four cords
This is the main body of the hanger, and all four cords are identical.
For each cord:
- Join your yarn to the ring or loop.
- Ch 75 for a standard hanger — or your length from the table.
- Now work back down the chain: sl st into the 2nd chain from the hook and into each chain all the way back to the ring.
- Sl st into the ring to secure. Fasten off.
Repeat until you have four cords hanging from the ring, evenly spaced around it.
Why you slip stitch back down: a bare chain stretches badly under weight — the same problem that ruins crochet bag handles. Slip stitching back doubles the cord into a firm rope that holds its length. Skip this step and the hanger sags within a fortnight.
Count your chains on every cord. All four must match. This is the one place accuracy matters, because uneven cords tilt the pot. Write the number down after the first cord.
Step 3: The cradle
This is what turns four dangling cords into a basket, and it’s simpler than it looks.
Lay the hanger flat with the four cords spread out evenly, like the spokes of a wheel.
The first row of joins. Take two neighbouring cords. Measure about 20 cm up from the bottom ends and tie them together in a firm knot. Work around the circle, joining cord 1 to 2, 2 to 3, 3 to 4, and 4 back to 1.
You now have four knots, all at the same height, forming a ring.
The second row of joins. Take the two cords that are now neighbours across each existing knot — that is, join each pair that wasn’t joined before. Tie them about 8 cm below the first row of knots.
This offsetting is the whole trick. Because the second row of knots sits between the first row rather than below it, the cords form diamond-shaped openings — and diamonds are what hold a round pot.
The base. Gather all four cords about 8 cm below the second row and tie them together in one large knot. Trim the ends to about 10 cm below the knot to make a tassel, or leave them longer.
Step 4: Fit the pot
Sit your pot into the cradle. Slide the knots up or down until it sits level.
If the pot slips through, your knots are too far apart — retie the bottom row higher. If the cradle is too tight to get the pot in, retie lower.
Test it with the pot full and watered before hanging it somewhere it can fall. A watered pot is considerably heavier than a dry one, and that’s the weight the hanger actually has to carry.
Troubleshooting your crochet plant hanger
The pot hangs at an angle. One cord is longer than the others. Retie the knots on the short side slightly lower to even it up.
The hanger has stretched since I hung it. Either the cords weren’t slip stitched back down, or the yarn is acrylic. Cotton and a doubled cord are both necessary.
The pot slips through the bottom. The knots are too far apart. Retie the second row higher.
I can’t fit the pot in. The opposite — retie lower, or use fewer centimetres between the rows of knots.
The knots slide around. Use a double knot, and pull it tight while the cords are under tension rather than slack.
The hanging loop is stretching. A bare chain loop. Cover a ring with single crochet instead, or work more sc around the loop.
It looks messy. Trim all four tassel ends to exactly the same length. It’s the single thing that makes the difference.
Variations
- Six-cord hanger: for a larger or heavier pot, make six cords instead of four and add a third row of knots. Much more stable for pots over 20 cm.
- Beaded: thread wooden beads onto each cord before the first row of knots.
- Two-tone: alternate cord colours, two of each.
- Tiered: make three hangers of different lengths and hang them together at staggered heights in one window.
- Macramé cord version: the same pattern in 3 mm macramé cord looks completely different — more rustic, and it holds its shape even better.
A note on weight
Worth saying before you hang anything above a sofa.
A 15 cm terracotta pot with soil and a plant, watered, weighs around 2–3 kg. That’s fine for a cotton hanger with doubled cords, and it is not fine for a chain hanger in acrylic.
Hang it from a proper ceiling hook screwed into a joist, not from a picture hook or an adhesive hook. The hanger is rarely the thing that fails.
Frequently asked questions
How do you crochet a plant hanger?
Make four long chains, slip stitch back down each one to double it, then join them to a ring at the top. Tie the cords together in two offset rows of knots to form a cradle, and gather them in one knot at the base.
What yarn should I use for a crochet plant hanger?
Cotton yarn or macramé cord. A watered pot is heavy and acrylic stretches, so an acrylic hanger keeps dropping lower over time.
How long should a crochet plant hanger be?
About 75 cm for a standard window or ceiling hook, 55 cm for a shelf, and 100 cm for a high ceiling.
Why does my crochet plant hanger stretch?
Either the cords are bare chains, or the yarn is acrylic. Slip stitching back down each chain doubles it into a firm cord that holds its length.
How do I stop the pot slipping through?
Retie the second row of knots higher. The offset diamond openings are what hold a round pot in place.
How much weight can a crochet plant hanger hold?
A doubled cotton hanger comfortably holds a 15 cm pot, which is about 2–3 kg watered. Hang it from a ceiling hook fixed into a joist.
How long does it take to crochet a plant hanger?
About an hour, and it only needs the chain stitch.




