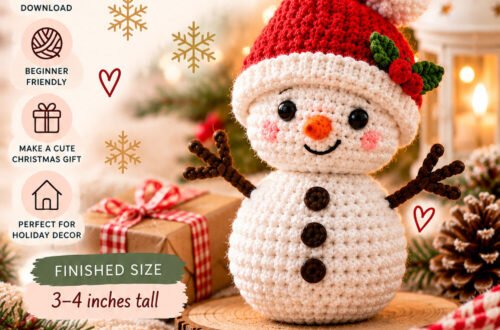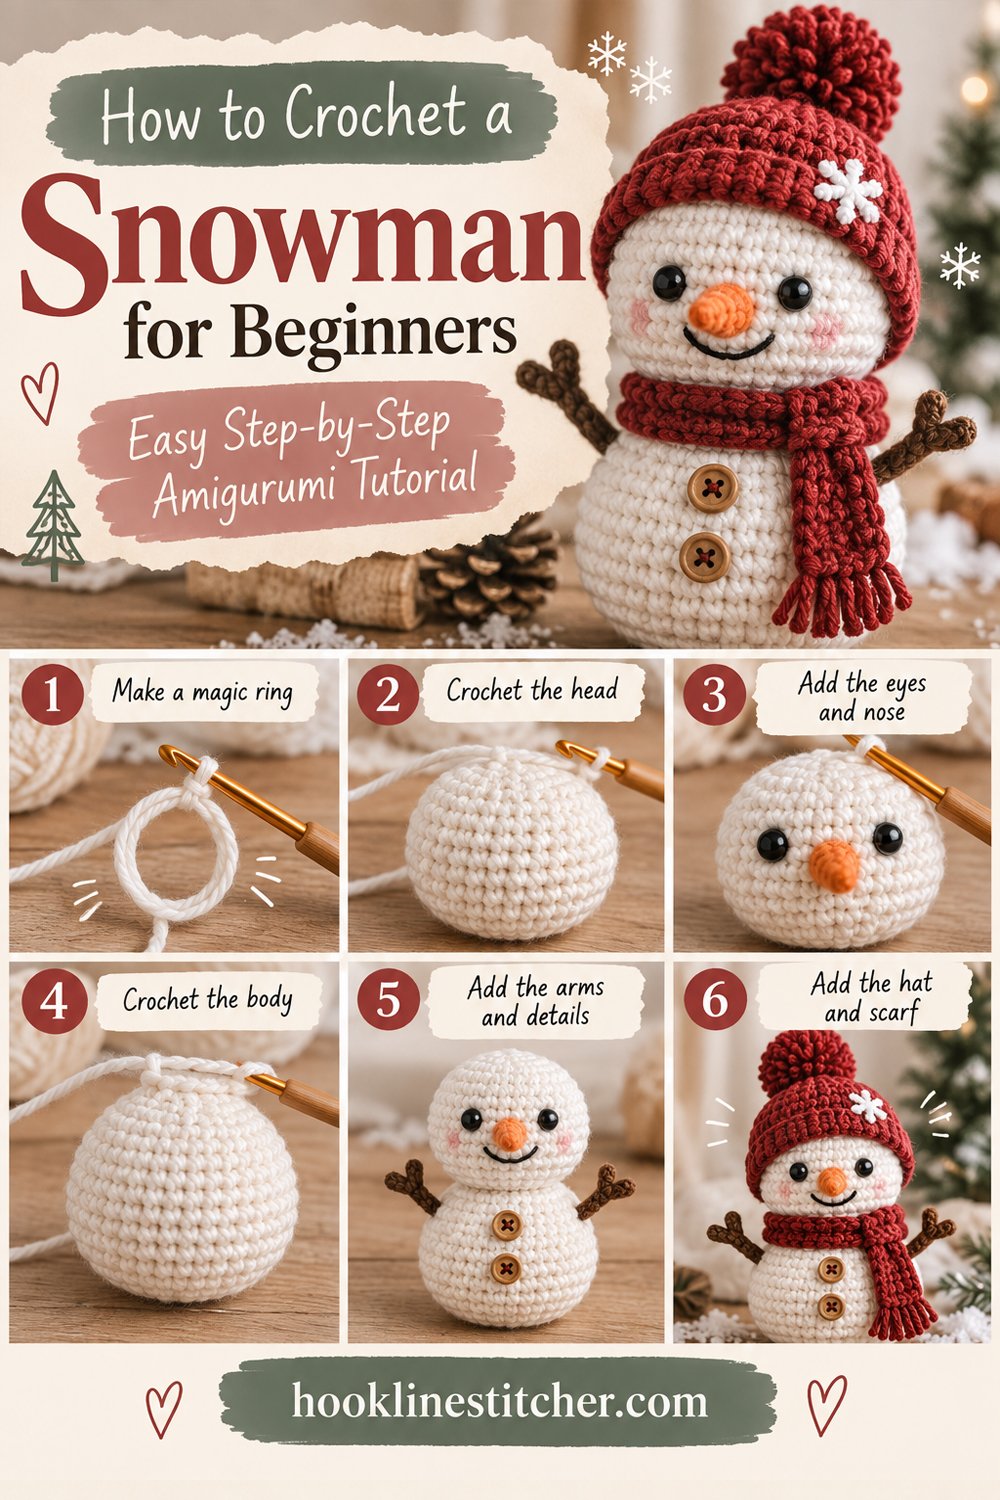
A snowman is two balls stacked on top of each other. If you can make a sphere, you can make a snowman, and the sphere is the first shape anyone learns in amigurumi.
What makes this one worth doing properly is the accessories. The balls take forty minutes; the hat, scarf, carrot nose and twig arms are what turn two white spheres into a character. None of them are difficult, and each one takes about five minutes.
A useful bonus: a snowman is not strictly a Christmas decoration. It stays out through January and February, which is exactly when seasonal craft content goes quiet.
This one stands about 6 inches tall.

From the shop · New pattern
A sweet cat-ear coaster in just 5 rounds. Beginner friendly, printable 7-page PDF for $4.99.
See the pattern →What you will need
| Item | What I recommend | Why |
|---|---|---|
| Yarn | Worsted weight (#4) in white, 70 yards | Head and body |
| Yarn | Black, 25 yards | Hat and eyes |
| Yarn | Orange, small amount | The carrot nose |
| Yarn | Red or a bright colour, 20 yards | The scarf |
| Yarn | Brown, small amount | The arms |
| Hook | 3.5 mm | Dense fabric so stuffing cannot show |
| Stuffing | Polyester fibrefill | Head and body |
| Weight | Dried rice in a small fabric bag | Keeps him upright |
| Stitch marker | Or scrap yarn | Essential for spiral rounds |
| Yarn needle | Blunt tapestry needle | Assembly |
A yarn with a slight sparkle in the white looks wonderful here and reads as snow. Plain white is perfectly good.
From the shop · New pattern
A sweet cat-ear coaster in just 5 rounds. Beginner friendly, printable 7-page PDF for $4.99.
See the pattern →Cathrinee’s Supply Kit
Everything you need for this project
Stitches you need to know
- Magic ring
- Single crochet (sc) — see how to crochet a single crochet stitch
- Increase (inc) — 2 sc into one stitch
- Invisible decrease (dec) — front loops only of the next two stitches, yarn over, pull through both
- Back loop only (BLO) — used once on the hat brim
- Chain (ch) and slip stitch (sl st) — scarf and arms
How a sphere works
Every ball in amigurumi follows the same three-stage rhythm, and once you see it you will never need a pattern for a sphere again.
Increase — each round adds 6 stitches, spaced one further apart each time: (inc), (sc 1, inc), (sc 2, inc), and so on.
Work even — plain rounds with no shaping. This is the middle of the ball.
Decrease — mirror the increases in reverse: (sc 2, dec), (sc 1, dec), (dec).
Increase, straight, decrease. That is a sphere. The body below is a bigger sphere, the head is a smaller one, and the method is identical.
How to crochet a snowman step by step
The body
- In white: magic ring, 6 sc. Pull the ring fully closed and place your marker. Move it every single round — this is a continuous spiral with no join to count from.
- Round 2: Increase in every stitch. 12 stitches.
- Round 3: (sc 1, inc) around. 18 stitches.
- Round 4: (sc 2, inc) around. 24 stitches.
- Round 5: (sc 3, inc) around. 30 stitches.
- Rounds 6 to 11: Single crochet around. 30 stitches each round.
- Round 12: (sc 3, dec) around. 24 stitches.
- Round 13: (sc 2, dec) around. 18 stitches.
- Put the weighted rice bag in now, then stuff firmly, adding fibrefill in small pinches and pressing each one outward against the walls.
- Round 14: (sc 1, dec) around. 12 stitches.
- Round 15: Decrease around. 6 stitches. Top up the stuffing, fasten off leaving a long tail, thread it through the remaining loops and pull tight.
The head
- In white: magic ring, 6 sc.
- Round 2: Increase around. 12 stitches.
- Round 3: (sc 1, inc) around. 18 stitches.
- Rounds 4 to 8: Single crochet around. 18 stitches.
- Round 9: (sc 1, dec) around. 12 stitches.
- Stuff firmly, then decrease around to 6 stitches. Fasten off leaving a long tail.
The carrot nose
- In orange: magic ring, 4 sc. Starting with 4 gives a sharper point than 6.
- Round 2: Single crochet around. 4 stitches.
- Round 3: (sc 1, inc) around. 6 stitches.
- Round 4: Single crochet around. 6 stitches.
- Round 5: (sc 2, inc) around. 8 stitches. Fasten off leaving a tail. Do not stuff — it is too small to need it.
Notice the cone method again: one increase round, one or two plain rounds. Same as the Christmas tree, same as a gnome hat.
The hat
- In black: magic ring, 6 sc.
- Round 2: Increase around. 12 stitches.
- Rounds 3 to 7: Single crochet around. 12 stitches. This is the crown of the hat.
- Round 8 — the brim: work into the back loop only, (sc 1, inc) around. 18 stitches. The back-loop-only round creates the sharp corner where crown meets brim.
- Round 9: (sc 2, inc) around. 24 stitches.
- Round 10: Slip stitch around to finish the brim edge. Fasten off leaving a tail. Do not stuff the hat.
The arms (make 2)
- In brown: chain 8. Slip stitch back along chains 2 to 5.
- Make a twig branch: chain 3, slip stitch back along those 3 chains to return to the main stem.
- Slip stitch down the remaining chains to the base. Fasten off leaving a long tail.
Same technique as reindeer antlers — chains with slip stitches worked back along them.
The scarf
- In red: chain 40.
- Row 1: Single crochet into the second chain from the hook and across. 39 stitches. Fasten off.
- Optional fringe: cut six 3-inch lengths of red yarn, fold each in half, and knot three into each end of the scarf. Trim level.
Assembly
- Attach the head to the body. Line up the closed top of the body with the closed bottom of the head and stitch around the join twice, pulling each stitch snug. One pass never holds a stuffed head — this is the most common flaw in a first amigurumi.
- Sew the carrot nose to the centre of the face, stitching all the way around its base so it points outward rather than flopping down.
- Add the eyes. Two small black straight stitches, spaced about 4 stitches apart, sitting just above the nose. Pin scraps of yarn in place and look from a distance before committing.
- Add the mouth. Five tiny black stitches in a shallow curve below the nose, spaced apart like lumps of coal. Do not join them into a line — separated dots is what reads as a coal smile.
- Sew on three coal buttons down the front of the body, evenly spaced.
- Sew the arms to the sides of the body, about two thirds of the way up, angled outward and slightly upward.
- Tie the scarf around the neck join. This is doing real work — it hides the seam between head and body completely.
- Place the hat on top at a slight angle and stitch it down around the brim edge. A hat sitting perfectly straight looks stiff; a tilted one looks alive.
- Weave in every end on the inside and trim close.
Troubleshooting
The head wobbles or falls off. You stitched the join once. Go around twice with the long tail, snugging each stitch. The scarf helps hide a less than perfect join, but it cannot hold the weight.
My snowman tips over. No weight in the base. Add a small fabric bag of rice or lentils before stuffing. Never pour rice in loose — it works out through the stitches.
Stuffing shows through the white. Hook too big, and white shows it worse than any other colour. Drop to 3.0 mm. See why are there holes or gaps in my crochet.
The balls are lumpy rather than round. Stuffed in one lump. Pull it out and rebuild in small pinches, pressing each one outward. More on this in why is my amigurumi lopsided, saggy, or showing stuffing.
The hat brim is floppy. You missed the back-loop-only round. That round creates the corner that makes the brim stand out from the crown.
The carrot nose points downward. You sewed only the bottom edge. Stitch all the way around the base of the cone.
The face looks wrong. Usually the eyes are too far apart or too low. Move them closer together and just above the nose. On a face this simple, placement is the whole expression.
I lost my place in the round. Move the marker into the first stitch of every round. How to count crochet stitches explains reading a spiral.
Variations to try
- Three-ball snowman. Add a third, larger sphere at the base — increase to 36 stitches. Traditional, and it stands even better.
- Melting snowman. Work a flat white puddle base and sit a single small head on it with the hat and carrot beside. Funny, and extremely quick.
- Hanging ornament. Make the whole thing at half scale with sport weight yarn and a 2.5 mm hook, add a chain loop at the top of the hat.
- Earmuffs instead of a hat. A thin headband with two small circles either side.
- Snow family. A large, medium and small snowman together.
- Set the scene. Stand him beside a crochet Christmas tree and a few snowflakes.
Safety note for children
For a child under three, embroider the eyes, mouth and buttons in yarn rather than using safety eyes or beads, sew every piece on twice, use machine washable yarn and stuffing, and leave the rice weight out entirely.
For more festive projects, see easy Christmas crochet patterns for beginners, and for more animals and characters, easy amigurumi patterns for beginners.
To match your yarn to the right hook, use the Craft Yarn Council hook size chart — then go one or two sizes smaller for amigurumi.
How do you crochet a snowman?
Make two spheres — a larger one for the body and a smaller one for the head — using the same increase, work even, decrease rhythm. Stack and sew them together, then add a carrot nose, a black hat, a scarf and twig arms. The accessories are what turn two white balls into a character.
How do I stop my crochet snowman head wobbling?
Stitch around the head-to-body join twice with the long tail, pulling each stitch snug. A single pass never supports the weight of a stuffed head. Tying the scarf around the neck afterwards hides the seam, but it cannot do the structural work.
How do you make a crochet carrot nose?
Use the cone method — magic ring with 4 stitches, then alternate one increase round with one or two plain rounds until it reaches 8 stitches. Starting with 4 rather than 6 gives a sharper point. Sew all the way around its base so it points outward.
How do I make the snowman hat brim stand out?
Work the first brim round into the back loop only. That creates a sharp corner between the crown and the brim instead of a gradual curve. Without it the brim flops against the hat and loses its shape.
How do I make my crochet snowman stand up?
Put a small fabric bag of dried rice or lentils in the base before stuffing. For extra stability, make a three-ball version with a wider bottom sphere of 36 stitches, which gives a broader base to sit on.