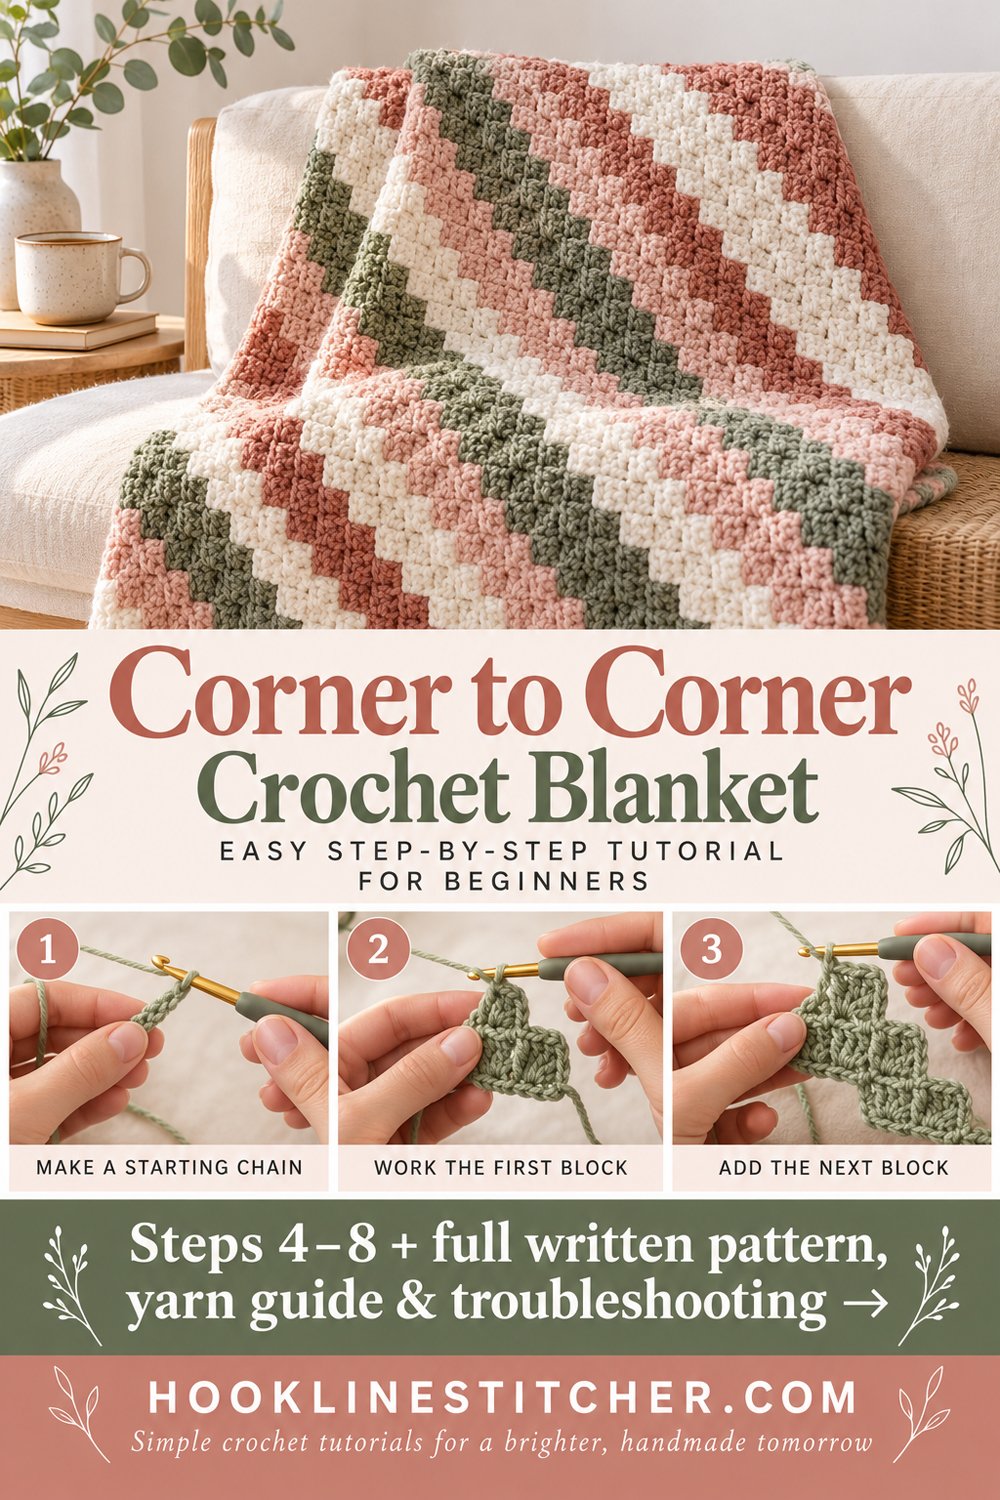
A corner to corner crochet blanket — usually written C2C — is the fastest way to make a blanket and one of the most satisfying things a beginner can learn. Instead of working straight rows, you build the blanket on the diagonal out of small squares called tiles, growing from one corner until you reach the width you want, then decreasing down to the opposite corner.
It sounds complicated and it is not. Every tile is the same four moves. Once you have made three, your hands know it and you stop reading.

From the shop · New pattern
A sweet cat-ear coaster in just 5 rounds. Beginner friendly, printable 7-page PDF for $4.99.
See the pattern →What you will need
| Item | What I recommend | Why |
|---|---|---|
| Yarn | Worsted weight (#4), 900 to 1,200 yards for a throw | The main cost of the project |
| Hook | 5.5 mm | Slightly loose, so the blanket drapes |
| Stitch marker | Or scrap yarn | Marking the halfway corner |
| Yarn needle | Blunt tapestry needle | Weaving in ends |
| Measuring tape | Soft tape | Checking the diagonal |
Acrylic is the sensible choice for a blanket. It washes, it is affordable in the quantities a blanket needs, and it is soft enough. If you are making a baby blanket, choose one labelled machine washable.
From the shop · New pattern
A sweet cat-ear coaster in just 5 rounds. Beginner friendly, printable 7-page PDF for $4.99.
See the pattern →Cathrinee’s Supply Kit
Everything you need for this project
Stitches you need to know
- Chain (ch) — see how to crochet a chain stitch
- Double crochet (dc) — see how to crochet a double crochet stitch
- Slip stitch (sl st) — moving between tiles
- Single crochet (sc) — the border only
What a tile is in a corner to corner crochet blanket
This is the only concept in C2C, so it is worth being clear.
A tile is a chain 3 followed by 3 double crochet. That is it. Every tile in the blanket is identical.
Tiles connect to each other by working into the chain-3 space of the tile in the row below. When you are increasing, you start each new row with a chain 6 that creates a brand new tile out at the edge. When you are decreasing, you slip stitch across the first tile instead, which removes it.
Increase side, decrease side, and the blanket comes out as a square or rectangle turned 45 degrees.
How to make a corner to corner crochet blanket step by step
The increase half
- Chain 6.
- Row 1: Work 3 dc into the fourth chain from the hook. You have made one tile. Turn.
- Row 2: Chain 6. Work 3 dc into the fourth chain from the hook — that is your new edge tile. Now slip stitch into the chain-3 space of the tile from row 1. Chain 3, work 3 dc into that same space. You now have two tiles. Turn.
- Row 3: Chain 6, 3 dc into the fourth chain from the hook. Slip stitch into the next chain-3 space, chain 3, 3 dc into that space. Slip stitch into the next chain-3 space, chain 3, 3 dc into that space. Three tiles. Turn.
- Every row from here: Chain 6 and make a new tile, then work one tile into each chain-3 space across. Each row has one more tile than the row before.
- Keep going until the blanket is wide enough. Measure along one straight edge, not the diagonal. For a throw, work until that edge measures about 40 inches. Common targets:
| Blanket | Edge measurement | Approximate tiles |
|---|---|---|
| Baby blanket | 30 inches | 30 to 34 |
| Lap blanket | 36 inches | 36 to 40 |
| Throw | 45 inches | 45 to 50 |
- Mark the corner row. When you reach your target width, that is the halfway point of the whole blanket. Put a marker in it so you know where the shape turns.
The decrease half
- Row 1 of the decrease: Slip stitch across the first 3 dc and into the chain-3 space of the first tile — this is how you drop a tile. Chain 3, 3 dc into that space. Then continue working tiles across as normal. At the end of the row, do not chain 6. Instead work your last tile into the final chain-3 space and turn.
- Every decrease row: Slip stitch across to drop a tile at the start, work tiles across, and stop at the end without adding one. Each row now has one fewer tile.
- Keep going until you have one tile left. Fasten off.
You will now have a rectangle standing on its point. Laid straight, it is a square or rectangle with clean edges — the diagonal construction disappears entirely once it is flat.
The border
- Round 1: Join yarn at any corner and work single crochet evenly all the way around. Work 3 sc into each of the four corners so they lie flat rather than pulling in.
- Rounds 2 and 3: Repeat, continuing to work 3 sc into each corner stitch. Three rounds is enough to frame the blanket and stop the stepped diagonal edges looking rough.
- Fasten off and weave in every end. On a blanket this is a real job — set aside half an hour and do it properly. Ends that are not woven in securely will work their way out in the wash.
Troubleshooting
My blanket is growing into a triangle, not a square. You have not started decreasing. The increase half stops at the halfway point; after that every row must drop a tile at the start and skip adding one at the end.
One side is longer than the other. You decreased on one side only, or missed a decrease row. Count tiles per row as you go — it should reduce by exactly one each time.
There are holes between my tiles. You worked into the stitches instead of into the chain-3 space. Every connection goes into the space, never the stitches.
The rows are getting confusing. Turn the work the same way every single time. Inconsistent turning is the most common cause of a C2C blanket going wrong, and it is almost invisible until several rows later.
The edges look stepped and messy. That is normal for C2C and the border fixes it. Three rounds of single crochet with 3 sc in each corner evens everything out.
The blanket is curling at the corners. Not enough stitches in the corner of your border. Use 3 sc in each corner every round.
I have run out of yarn halfway. C2C uses a lot. Buy all your yarn at the start, in the same dye lot, and buy one ball more than you think you need.
I lost my place mid-row. Count the chain-3 spaces remaining. Every one needs a tile. See how to count crochet stitches for reading your work generally.
Variations to try
- Pixel patterns. Because each tile is a square, you can change colour tile by tile and work from a grid chart — hearts, letters, whole pictures. This is what C2C is famous for.
- Diagonal stripes. Change colour every two rows for stripes that run corner to corner.
- Half-tile version. Work each tile as chain 2 and 2 dc for a finer, denser blanket.
- Gradient. Use a yarn cake that changes colour gradually and let it do the work.
- Cushion front. A small C2C square makes an excellent cushion cover panel.
- Scarf. Work 12 tiles wide and keep going without decreasing for a diagonal scarf.
Why a corner to corner crochet blanket is worth learning
Two reasons. First, it is quick — the tiles are chunky and the rows fly, so a blanket that would take weeks in single crochet takes a fraction of the time.
Second, it opens up colourwork without any of the difficulty. Changing colour on a normal crochet chart means carrying yarn and counting individual stitches. In C2C, one tile is one square on a grid, so you can follow a chart the way you would follow a cross stitch pattern. That is how people make blankets with names, animals and whole scenes on them, and it is far more approachable than it looks.
For more blankets, see how to crochet a granny stripe blanket and how to crochet a baby blanket. If your blanket edges are giving you trouble, why are my crochet rows getting wider or narrower will help.
To work out how much yarn you need for a given hook, the Craft Yarn Council yarn weight system is a good reference.
What is a C2C tile in crochet?
A tile is a chain 3 followed by 3 double crochet, and every tile in a corner to corner blanket is identical. Tiles connect by working into the chain-3 space of the tile in the row below — never into the stitches themselves, which is what causes holes.
How do I increase and decrease in C2C crochet?
To increase, start each row with a chain 6 and work 3 double crochet into the fourth chain from the hook, creating a new tile at the edge. To decrease, slip stitch across the first tile instead of adding one, and stop at the end of the row without adding a final tile.
How do I know when to stop increasing on a C2C blanket?
Measure along one straight edge rather than the diagonal. Stop increasing when that edge reaches your target width — about 30 inches for a baby blanket, 36 for a lap blanket and 45 for a throw. That row is the halfway point of the whole blanket.
How much yarn does a C2C blanket use?
Around 900 to 1,200 yards of worsted weight yarn for a throw. Buy all of it at the start in the same dye lot, and buy one ball more than you estimate — running out partway through is the most common problem with blanket projects.
Why does my C2C blanket have holes between the tiles?
You worked into the stitches instead of into the chain-3 space. Every tile connects by going into the chain-3 space of the tile below it. Working into the surrounding double crochet stitches leaves a gap at every join.




