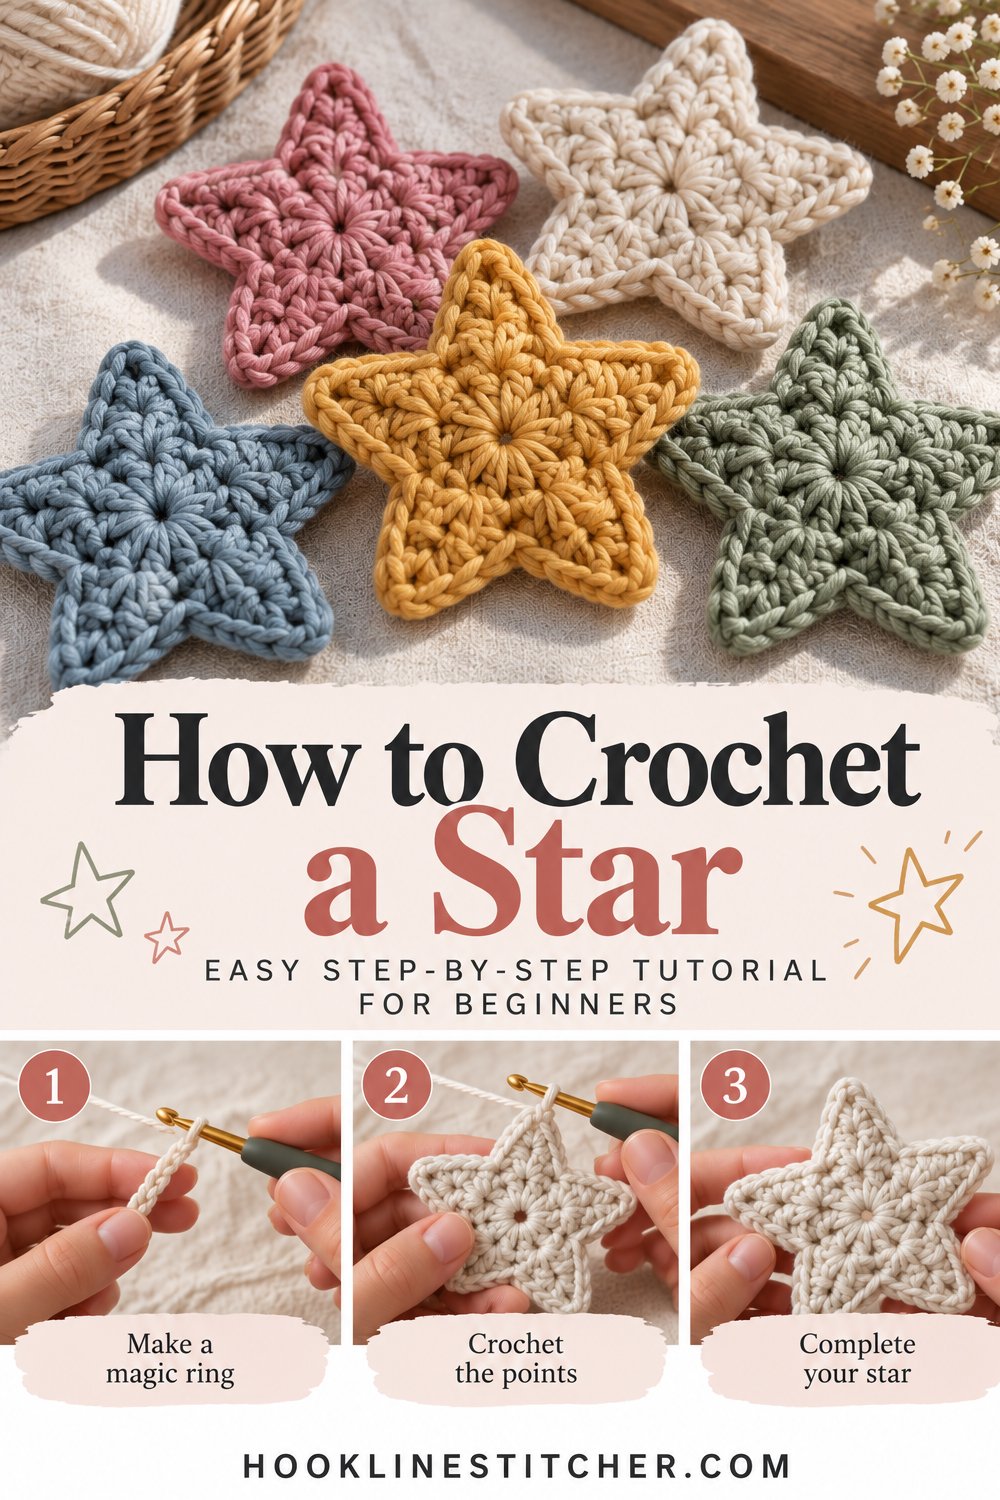
A crochet star is one round of work. That is the whole pattern. You make a small ring, work ten stitches into it, and then travel around once using stitches of increasing and decreasing height — and five sharp points appear. It takes about eight minutes.
Stars are endlessly useful. They hang on a tree, string into a garland, sew onto a bag or a blanket, sit on a nursery wall, or get stitched to a gift. And because they are flat, a batch of twenty stores in an envelope.
What you will need
| Item | What I recommend | Why |
|---|---|---|
| Yarn | Worsted weight (#4), about 8 yards per star | Scraps are perfect |
| Hook | 4.0 mm | Firm enough to hold sharp points |
| Yarn needle | Blunt tapestry needle | Weaving in ends |
| Scissors | Any | Cutting yarn |
Cotton gives the sharpest points and the flattest star. Acrylic is softer and may want a quick press under a book. Metallic or sparkle yarn is genuinely worth buying a single ball of if you are making Christmas stars — it is one of the few projects where novelty yarn improves the result rather than hiding the stitches.
Cathrinee’s Supply Kit
The beginner basics I recommend
Stitches you need to know
The star uses four stitch heights in sequence, which is exactly what creates the point:
- Chain (ch) — see how to crochet a chain stitch
- Slip stitch (sl st) — the shortest
- Single crochet (sc) — see how to crochet a single crochet stitch
- Half double crochet (hdc) — taller
- Double crochet (dc) — tallest, see how to crochet a double crochet stitch
The idea behind the shape
This is the clearest example in crochet of how stitch height creates shape. Around the ring you go: short, medium, tall, chain 2 and turn the corner, tall, medium, short. Then you anchor down with a slip stitch and start the next point.
The short stitches sit close to the centre. The tall stitches push outward. The chain 2 at the top forms the tip. The slip stitch between points pulls the fabric back in, which creates the valley. Five repeats, five points.
Once you see this, you can make a six-pointed star by working 12 stitches in the centre instead of 10, or make longer points by adding a treble crochet on each side.
How to crochet a star step by step
- Magic ring. If you have not used one, chain 4 and slip stitch into the first chain to make a small ring instead — it works, it just leaves a slightly bigger hole.
- Work 10 single crochet into the ring. Pull the ring closed tightly by tugging the starting tail. Ten stitches is two per point.
- Slip stitch into the first single crochet to join the round. Take a moment to make sure your centre is fully closed — it is much harder to fix later.
- Point 1: Work the following into the next stitches: slip stitch into the first stitch, single crochet into the next, half double crochet into the next, double crochet into the next, chain 2, double crochet into the same stitch you just worked into, half double crochet into the next, single crochet into the next, slip stitch into the next.
Read that again slowly if it looks dense — the pattern is simply *going up in height, turning at the top, coming back down*.
- Points 2 to 5: Repeat the same sequence four more times. You will use up the centre stitches as you go around.
- Join. Slip stitch into the base of the first point. Fasten off, leaving a tail if you want to hang or sew the star.
- Weave in both ends on the back of the star, changing direction once so they lock. Trim close.
- Shape the points. Pinch each tip between your fingers and pull gently outward. If the star is soft or the points are rounded, press it under a heavy book for an hour. With cotton, spray lightly with water, pull the points into shape and let it dry flat — it will hold like cardboard.
Troubleshooting
My star has rounded blobs instead of points. You are missing the chain 2 at the tip, or you worked the second double crochet into the next stitch instead of back into the same one. The tip needs two tall stitches sharing one base stitch with a chain between them.
The star curls up like a bowl. Your centre ring has too few stitches for the points you are working around it — the outside is growing faster than the inside can support. This is the same mechanism described in why is my crochet circle not flat. Try 12 stitches in the centre.
The star ruffles at the edges. The opposite problem — too many centre stitches. Drop to 10.
My points are different sizes. You lost track of which centre stitch you were on. Each point uses exactly two centre stitches. Count as you go for the first star and it becomes automatic.
There is a hole in the middle. The magic ring was not pulled fully closed. Thread the tail, run it around the ring, pull hard and secure.
The star is floppy. Acrylic on too large a hook. Drop to 3.5 mm, or block it.
Variations to try
- Six-pointed star. Work 12 single crochet into the centre ring and repeat the point sequence six times.
- Long-pointed star. Add a treble crochet between the double crochet and the chain 2 on each side. The points get dramatically longer.
- Outlined star. Work one round of single crochet all the way around the finished star in a contrasting colour, working 3 sc into each tip and skipping a stitch in each valley.
- Christmas ornament. Make two identical stars, hold them together and single crochet around the edge to join, stuffing lightly before you close. Add a chain loop. There are more festive makes in how to crochet Christmas ornaments.
- Star garland. Make ten stars and join them with 8 chains between each. Lovely over a mantelpiece or a cot.
- Appliqué. Sew stars onto a cushion cover, a baby blanket or a tote bag.
- Nursery mobile. Stars in cream, grey and mustard hung at different lengths from a hoop.
Make them in batches
Eight minutes per star means you can make a dozen in an evening without really noticing, and they weigh nothing and store flat. If you sell handmade work or you are building up to Christmas, stars are one of the highest-value things you can batch: the material cost is pennies, they post cheaply, and a garland of ten sells for far more than ten individual stars.
They are also a good project to make with a child who is learning, because a single round means they finish something in one sitting.
For more quick projects, see small crochet patterns for beginners, and for festive ideas, easy Christmas crochet patterns for beginners.
If you need to check your yarn against a hook size, the Craft Yarn Council yarn weight system has the chart.
How do you crochet a star point?
Work up through the stitch heights and back down again: slip stitch, single crochet, half double crochet, double crochet, chain 2, then a second double crochet into the same stitch, half double crochet, single crochet, slip stitch. The chain 2 with two tall stitches sharing one base stitch is what forms the sharp tip.
How many stitches go in the centre of a crochet star?
Ten single crochet into the magic ring for a five-pointed star, because each point uses two centre stitches. For a six-pointed star, work 12 and repeat the point sequence six times.
Why does my crochet star curl instead of lying flat?
The centre has too few stitches for the points growing around it, so the outer edge outpaces the middle. Try 12 stitches in the centre instead of 10. If the star ruffles rather than curls, you have the opposite problem and should drop back to 10.
How do I make my crochet star points sharp?
Use cotton yarn on a 4.0 mm hook, and block the finished star. Spray it lightly with water, pull each point into shape and let it dry flat — cotton will hold the shape like cardboard. For acrylic, press it under a heavy book for an hour.
How long does it take to crochet a star?
About eight minutes, because the entire star is a single round. They use roughly 8 yards of yarn each and store flat, which makes them ideal for batch-making into garlands or ornaments.




