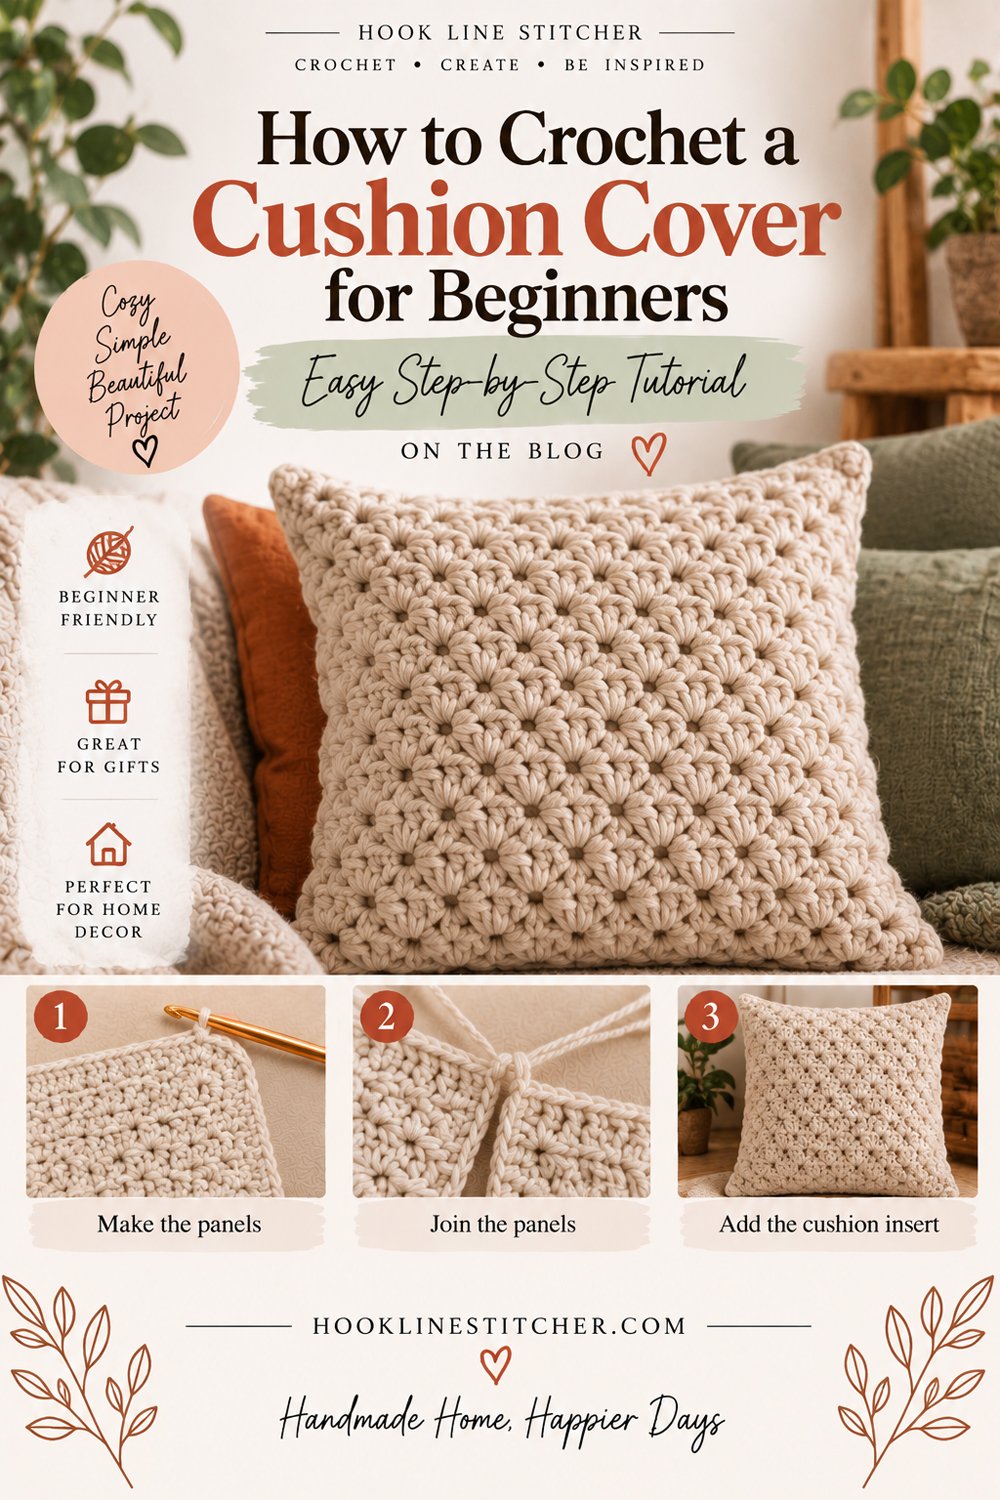
Learning how to crochet a cushion cover is the shortest route from beginner stitches to something that changes how a room looks. It’s also the project where the finishing matters more than the crochet.
The crochet part is two squares. That’s it — the same stitch, repeated, twice. What separates a cushion that looks handmade from one that looks homemade is the back: whether it closes neatly, whether the cover comes off to be washed, and whether the corners are square.
This pattern uses an envelope back, which is the method shop-bought covers use. No zip, no buttons, no fastening to sew in — two overlapping panels that you simply slide the cushion pad through.
About five hours for a 40 cm cover.

From the shop · New pattern
A sweet cat-ear coaster in just 5 rounds. Beginner friendly, printable 7-page PDF for $4.99.
See the pattern →What you need to know first
- Chain stitch
- Half double crochet or single crochet
- Turning at the end of a row
- Joining pieces with single crochet
What you need
Worsted weight (4) yarn, about 450 metres for a 40 cm cover. Cotton or a cotton blend is the better choice — it holds a crisp square shape, it washes well, and cushions get sat on, leaned on and spilled on. Acrylic works and is softer, but it pills where it rubs against a sofa.
A 5.0mm hook.
A cushion pad. Buy this first and measure it.
A tapestry needle and scissors.
From the shop · New pattern
A sweet cat-ear coaster in just 5 rounds. Beginner friendly, printable 7-page PDF for $4.99.
See the pattern →Cathrinee’s Supply Kit
Everything you need for this project
Getting the size right
Here’s the rule that makes the difference between a plump cushion and a sad one.
Make the cover 2–3 cm smaller than the pad.
A cover made to the exact size of the pad looks slack and wrinkled. A slightly small cover stretches over the pad and holds it taut, which is what makes a cushion look full. Every shop-bought cover does this.
| Cushion pad | Cover size to make | Approx. starting chain |
|---|---|---|
| 40 × 40 cm | 38 × 38 cm | 62 |
| 45 × 45 cm | 43 × 43 cm | 70 |
| 50 × 50 cm | 47 × 47 cm | 77 |
Chain counts are a starting estimate in worsted weight. Chain 20, measure, and work out your own — tension varies, and on a square that has to match a pad it’s worth thirty seconds. If you’re unsure, crochet gauge explained covers it.
The pattern
You’ll make three pieces: one front, and two back panels that overlap.
Piece 1: The front
Ch 62 for a 38 cm cover.
Row 1: hdc in the 3rd ch from the hook and in each ch across. (60)
Row 2: Ch 2, turn. hdc in each st across. (60)
Repeat row 2 until the piece is square — about 38 cm, usually 40 to 44 rows.
How to check it’s square without a tape measure: fold one corner diagonally across to the opposite edge. If the fold reaches exactly, it’s square.
Count every row. A cushion front is big enough that drift shows, and a cover that isn’t square won’t sit flat on a square pad — the counting habits here take seconds.
Pieces 2 and 3: The back panels
Each back panel is the same width as the front but only about two thirds of the height. When overlapped, they cover the back completely with a generous opening in the middle.
Ch 62 again.
Work in hdc exactly as before, but only for 26 cm — around 28 to 30 rows.
Make two of these.
Finish the opening edge of each panel with one row of single crochet along one long edge. That’s the edge that will sit in the middle of the back, visible whenever the cushion is turned over, and a single crochet edge stops it stretching and curling.
Assembly
Lay the front piece face up.
Lay the first back panel on top, face down, aligning it with the top edge. Lay the second back panel on top, face down, aligning it with the bottom edge. The two back panels will overlap by about 12 cm in the middle — that overlap is the closure.
Pin all the layers at the corners.
Now, working through all layers, single crochet around the entire edge of the cushion:
- One sc into the end of each row along the sides
- One sc into each stitch along the top and bottom
- 3 sc into each corner, so the corners turn sharply rather than rounding off
Join with a sl st, fasten off, and weave the ends in twice.
Turn the whole thing right side out through the overlap in the back. Push out the corners with your finger, then slide in the cushion pad.
Troubleshooting your crochet cushion cover
The cover is baggy and wrinkled. It’s the same size as the pad, or bigger. It needs to be 2–3 cm smaller so it stretches taut.
The corners are rounded, not square. You worked one sc into each corner instead of three.
The front isn’t square. Stitch count drifted. Use the diagonal fold test as you go, not just at the end.
The back panels gape and the pad shows. They don’t overlap enough. Each panel should be about two thirds of the full height, giving roughly 12 cm of overlap.
The edges pucker when joining. Too many stitches along the sides — one sc per row end, not two.
The middle edges of the back curl. You skipped the single crochet row along each opening edge.
It’s stretched out of shape after a few weeks. Acrylic on a sofa. Cotton holds its shape far better for cushions.
Variations
- Textured front: work the front in bobble stitch or alternating front and back post stitches. The back panels stay plain — nobody sees them.
- Granny square front: nine granny squares joined into a 3×3 grid makes an excellent cushion front and is a good way to use up scraps.
- Striped: six rows per colour. Simple, and it coordinates a room fast.
- Two-tone: a plain front in cream with a coloured border round.
- A set: two cushions in the same yarn as a granny stripe blanket turns three separate projects into a deliberate-looking room.
Why the envelope back is worth the extra piece
It’s tempting to crochet a single big rectangle, fold it, and seam three sides. It’s faster and it works — but the cover can never come off.
A cushion cover that can’t be removed is a cushion cover that gets thrown away the first time someone spills tea on it. The two extra back panels take about ninety minutes and they mean the cover goes in the washing machine and comes back.
For something that lives on a sofa, that’s the difference between a year and a decade.
Frequently asked questions
How do you crochet a cushion cover for beginners?
Crochet one square for the front and two shorter panels for the back, then join all three around the edge with single crochet. The back panels overlap so the cushion pad slides in and out.
What size should a crochet cushion cover be?
About 2–3 cm smaller than the cushion pad. A slightly small cover stretches over the pad and keeps it looking plump; an exact-size cover looks slack.
What yarn is best for a crochet cushion cover?
Cotton or a cotton blend. It holds a crisp square shape and washes well. Acrylic is softer but pills where it rubs against a sofa.
How much yarn does a crochet cushion cover need?
About 450 metres of worsted weight yarn for a 40 cm cover.
How do I make the corners square?
Work 3 single crochets into each corner when joining. One stitch per corner rounds them off.
Why is my crochet cushion cover baggy?
It’s the same size as the pad or larger. Make the cover 2–3 cm smaller so the fabric stretches taut over the pad.
How long does it take to crochet a cushion cover?
About five hours for a 40 cm cover, including both back panels.





One comment on “How to Crochet a Cushion Cover for Beginners: Easy Step-by-Step Tutorial”