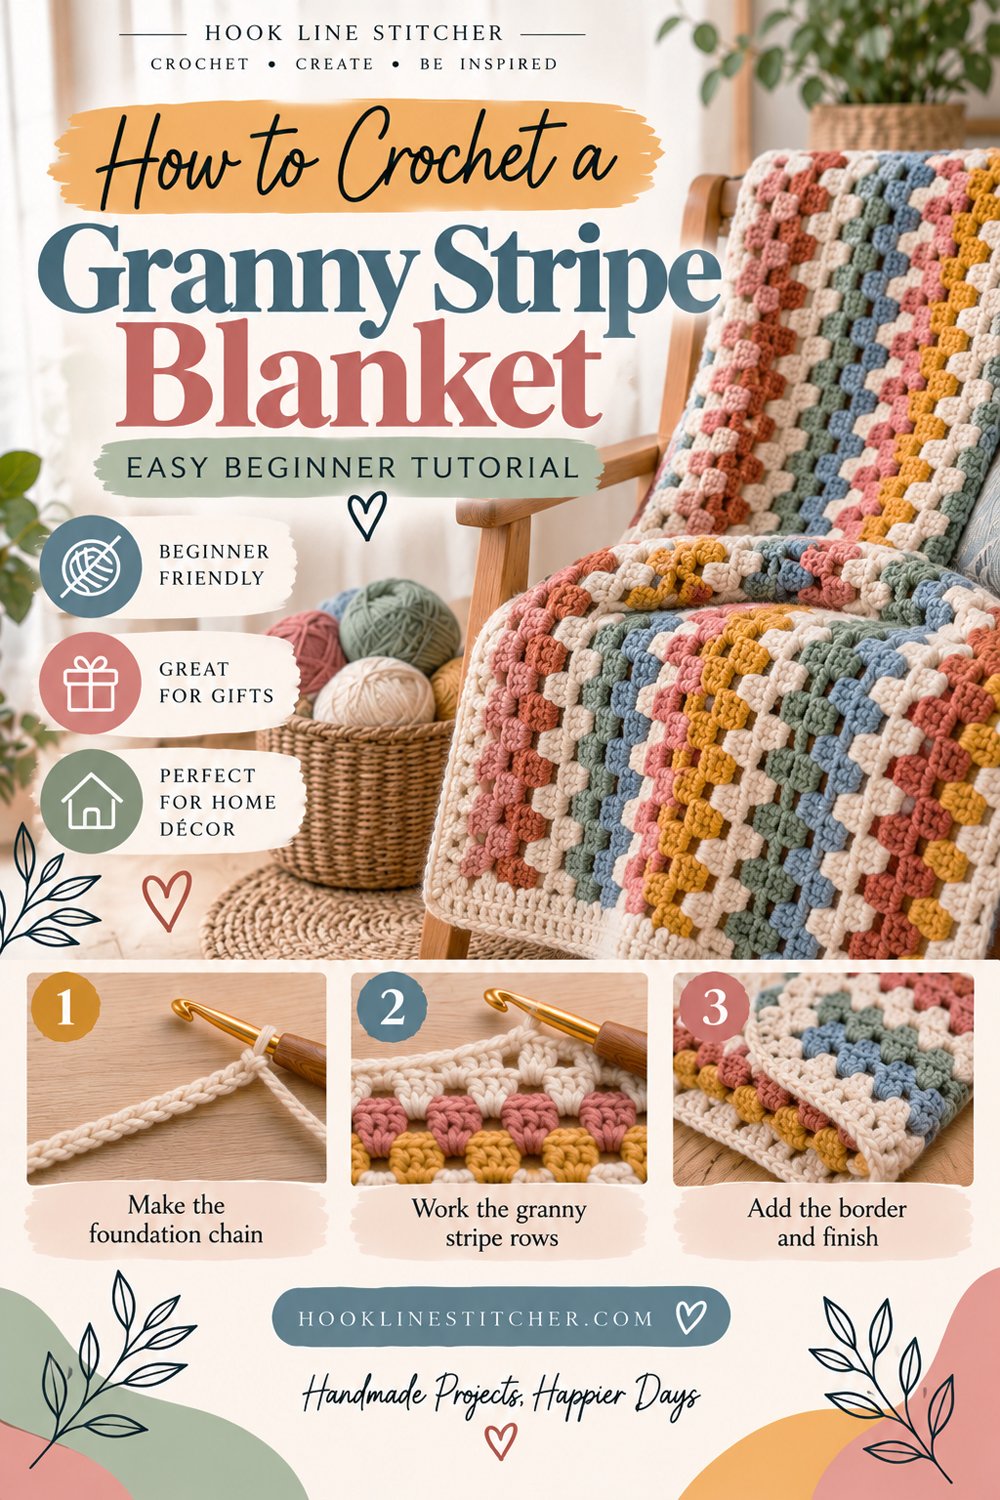
A granny stripe blanket is the blanket beginners actually finish, and the reason is structural: there is no sewing.
A traditional granny square blanket means making sixty squares and then joining sixty squares — and the joining is the part where blankets go into a cupboard and stay there. The granny stripe takes the same three-double-crochet cluster and works it in rows instead. You start at one edge, you work back and forth, and when you stop you have a blanket.
It’s also close to mindless once the first few rows are done, which makes it the ideal television project.
A throw takes around fifteen hours. That sounds like a lot until you realise it’s five evenings.

From the shop · New pattern
A sweet cat-ear coaster in just 5 rounds. Beginner friendly, printable 7-page PDF for $4.99.
See the pattern →What you need to know first
- Chain stitch
- Double crochet
- Working into a space rather than into a stitch
That last one is the whole technique, and it’s easier than working into stitches. The gaps between clusters are large and obvious — you can’t miss them and you can’t split them. It’s the same idea behind a granny square.
What you need
Worsted weight (4) yarn. For a throw, about 1,400 metres in total. Acrylic is the sensible choice — it’s washable, it’s cheap enough to buy in quantity, and a blanket gets used.
A 5.5mm hook.
A tapestry needle and scissors.
From the shop · New pattern
A sweet cat-ear coaster in just 5 rounds. Beginner friendly, printable 7-page PDF for $4.99.
See the pattern →Cathrinee’s Supply Kit
Everything you need for this project
How much yarn, by size
| Blanket | Finished size | Yarn needed | Starting chain |
|---|---|---|---|
| Baby | 75 × 90 cm | 700 m | 92 |
| Lap | 100 × 120 cm | 1,100 m | 122 |
| Throw | 125 × 150 cm | 1,400 m | 152 |
| Double bed | 180 × 200 cm | 2,600 m | 218 |
Buy all your yarn at once, and check the dye lot numbers match. Dye lots vary slightly, and a stripe from a different lot shows up as a band of not-quite-the-right-colour halfway through.
🧶 Need supplies? Good picks on Amazon: cotton yarn, an ergonomic crochet hook set and locking stitch markers. (affiliate links)
Terms
US crochet terms.
- ch = chain · dc = double crochet (UK treble) · sp = space · st(s) = stitch(es)
How the granny stripe works
Every row is the same: groups of three double crochets, dropped into the gaps left by the row below.
Because each group sits in a gap and creates a new gap beside it, the pattern self-perpetuates. Once row two is done you are simply repeating.
Your starting chain must be a multiple of 3, plus 2. That’s what makes the groups land evenly across the row. All the chain counts in the table above already follow that rule.
The pattern
Row 1 (the setup row)
Chain your number from the table.
Skip the first 3 chains — they count as your first double crochet. Work 2 dc into the 4th chain from the hook. You now have a group of three at the edge.
Then, across the row: skip 2 ch, 3 dc into the next ch. Repeat all the way along.
At the end: skip 2 ch, 1 dc into the last chain.
Row 1 is the slowest row of the whole blanket. It’s also the only row where you work into chains rather than spaces, and that’s what makes it fiddly. It gets easier immediately.
Count your groups at the end of this row and write the number down. It should stay identical for every row of the blanket.
Row 2 and every row after
Ch 3 and turn — this counts as your first dc.
Work 3 dc into each gap between the groups of the row below, all the way across.
At the end, work 1 dc into the top of the turning chain from the previous row.
That’s it. Every row is that row.
Changing colour
Granny stripes exist to show off colour, and changing is simple: fasten off at the end of a row, then join the new colour into the first space of the next row.
Change on the last step of the last stitch if you’d rather not fasten off — pull the final loop through with the new colour so the join is invisible.
Alternate which edge you change on so the yarn ends aren’t all down one side. Or embrace it: work all your colour changes on the same edge and hide them under the border later.
A reliable colour plan: two rows of each colour, cycling through four or five shades, with a neutral like cream every fourth stripe to stop it looking busy.
When to stop
Keep going until the blanket is the length you want, then fasten off.
Measure as you go rather than counting rows. Blankets grow at different rates depending on tension, and the table’s stitch counts control the width, not the length.
The border
A border is what makes a blanket look finished rather than stopped.
The simplest version that works: 3 rounds of double crochet worked all the way around, with 3 dc into each corner so the corners turn sharply.
Along the top and bottom edges, work 3 dc into each gap as usual. Along the side edges, work about 2 dc into the side of each row — check as you go, and add or skip one if the edge starts to ruffle or pull.
Finish with one round of single crochet for a crisp edge.
A cream or grey border pulls a multicoloured blanket together better than any of the colours already in it.
Troubleshooting your granny stripe blanket
The blanket is getting wider. You’ve added a group somewhere, usually by putting a group into the space at the very end of a row as well as the turning-chain stitch. Count your groups every row against the number you wrote down.
The blanket is getting narrower. You’ve missed the last gap, or worked your final dc into the wrong place. It should go into the top of the previous row’s turning chain.
The edges are ragged. Normal for granny stripes — the edge is made of half-groups and it never looks tidy until the border goes on. Don’t judge it before then.
The sides are wavy. Uneven tension between sessions, which is unavoidable on a project this size. Blocking and a firm border fix most of it.
There are gaps at the colour changes. Join the new colour into the space, not into the stitch, and pull the first stitch snug.
It’s curling at the bottom. Tight foundation chain. Next time, chain with a hook one size larger.
I lost count of which row I’m on. Granny stripes don’t need row counts — only group counts. Just check the groups and carry on.
Variations
- Two-colour stripe: alternate two shades every two rows. Far quicker to plan than a rainbow and it looks intentional.
- Ombré: work through five shades of the same colour from dark to light.
- Scrap blanket: one row per leftover ball, with cream between each. The cream is what stops it looking chaotic.
- Baby blanket: use the 92-chain size in a soft, washable yarn. See how to crochet a baby blanket for yarn safety and sizing.
- Cushion front: work a square of granny stripes and back it. A good way to try the stitch before committing to a blanket.
Frequently asked questions
What is a granny stripe blanket?
A blanket made from groups of three double crochets worked in rows rather than squares. Because it’s worked in one piece, there are no squares to join at the end.
How many chains do I need for a granny stripe blanket?
A multiple of 3 plus 2. A throw is about 152 chains, a baby blanket about 92.
How much yarn does a granny stripe blanket need?
About 700 metres for a baby blanket, 1,400 metres for a throw, and 2,600 metres for a double bed size.
Is a granny stripe blanket good for beginners?
Yes — it’s one of the best. Every row is identical, you work into obvious gaps rather than stitches, and nothing needs sewing together.
How long does a granny stripe blanket take?
Around fifteen hours for a throw, usually spread across several evenings.
Why is my granny stripe blanket getting wider?
You’re adding a group at the end of a row. Count your groups every row — the number should never change.
Do I need a border on a granny stripe blanket?
The edges look ragged without one, because they’re made of half-groups. Three rounds of double crochet is enough to finish it properly.





3 Comments on “How to Crochet a Granny Stripe Blanket: Easy Beginner Tutorial”